Star Wars Inspiration Board DIY
This Star Wars inspiration board DIY is a project I have wanted to make for a while, and January felt like the perfect time. The new year always brings about thoughts of resolutions, inspiring us to make change or reflect on our personal journey – and pin boards are a great way to remind us daily of our goals.
I’ve always loved pin boards, and use them often – I love being able to collect images and quotes that inspire me, and assemble them into visual representations of my goals. This year, I really wanted to create a Star Wars-themed pin board, inspired by my favourite women of Star Wars, and the pretty inspiration/mood/vision board projects from Pinterest.
As I planned out my project, the inspiration board idea evolved into a matching set of three boards, each one inspired by my favourite Star Wars characters – Princess Leia, Padme’ Amidala, and Rey. I created a themed printable sheet for each character, with quotes, inspiring words, and symbols to add to each pin board.
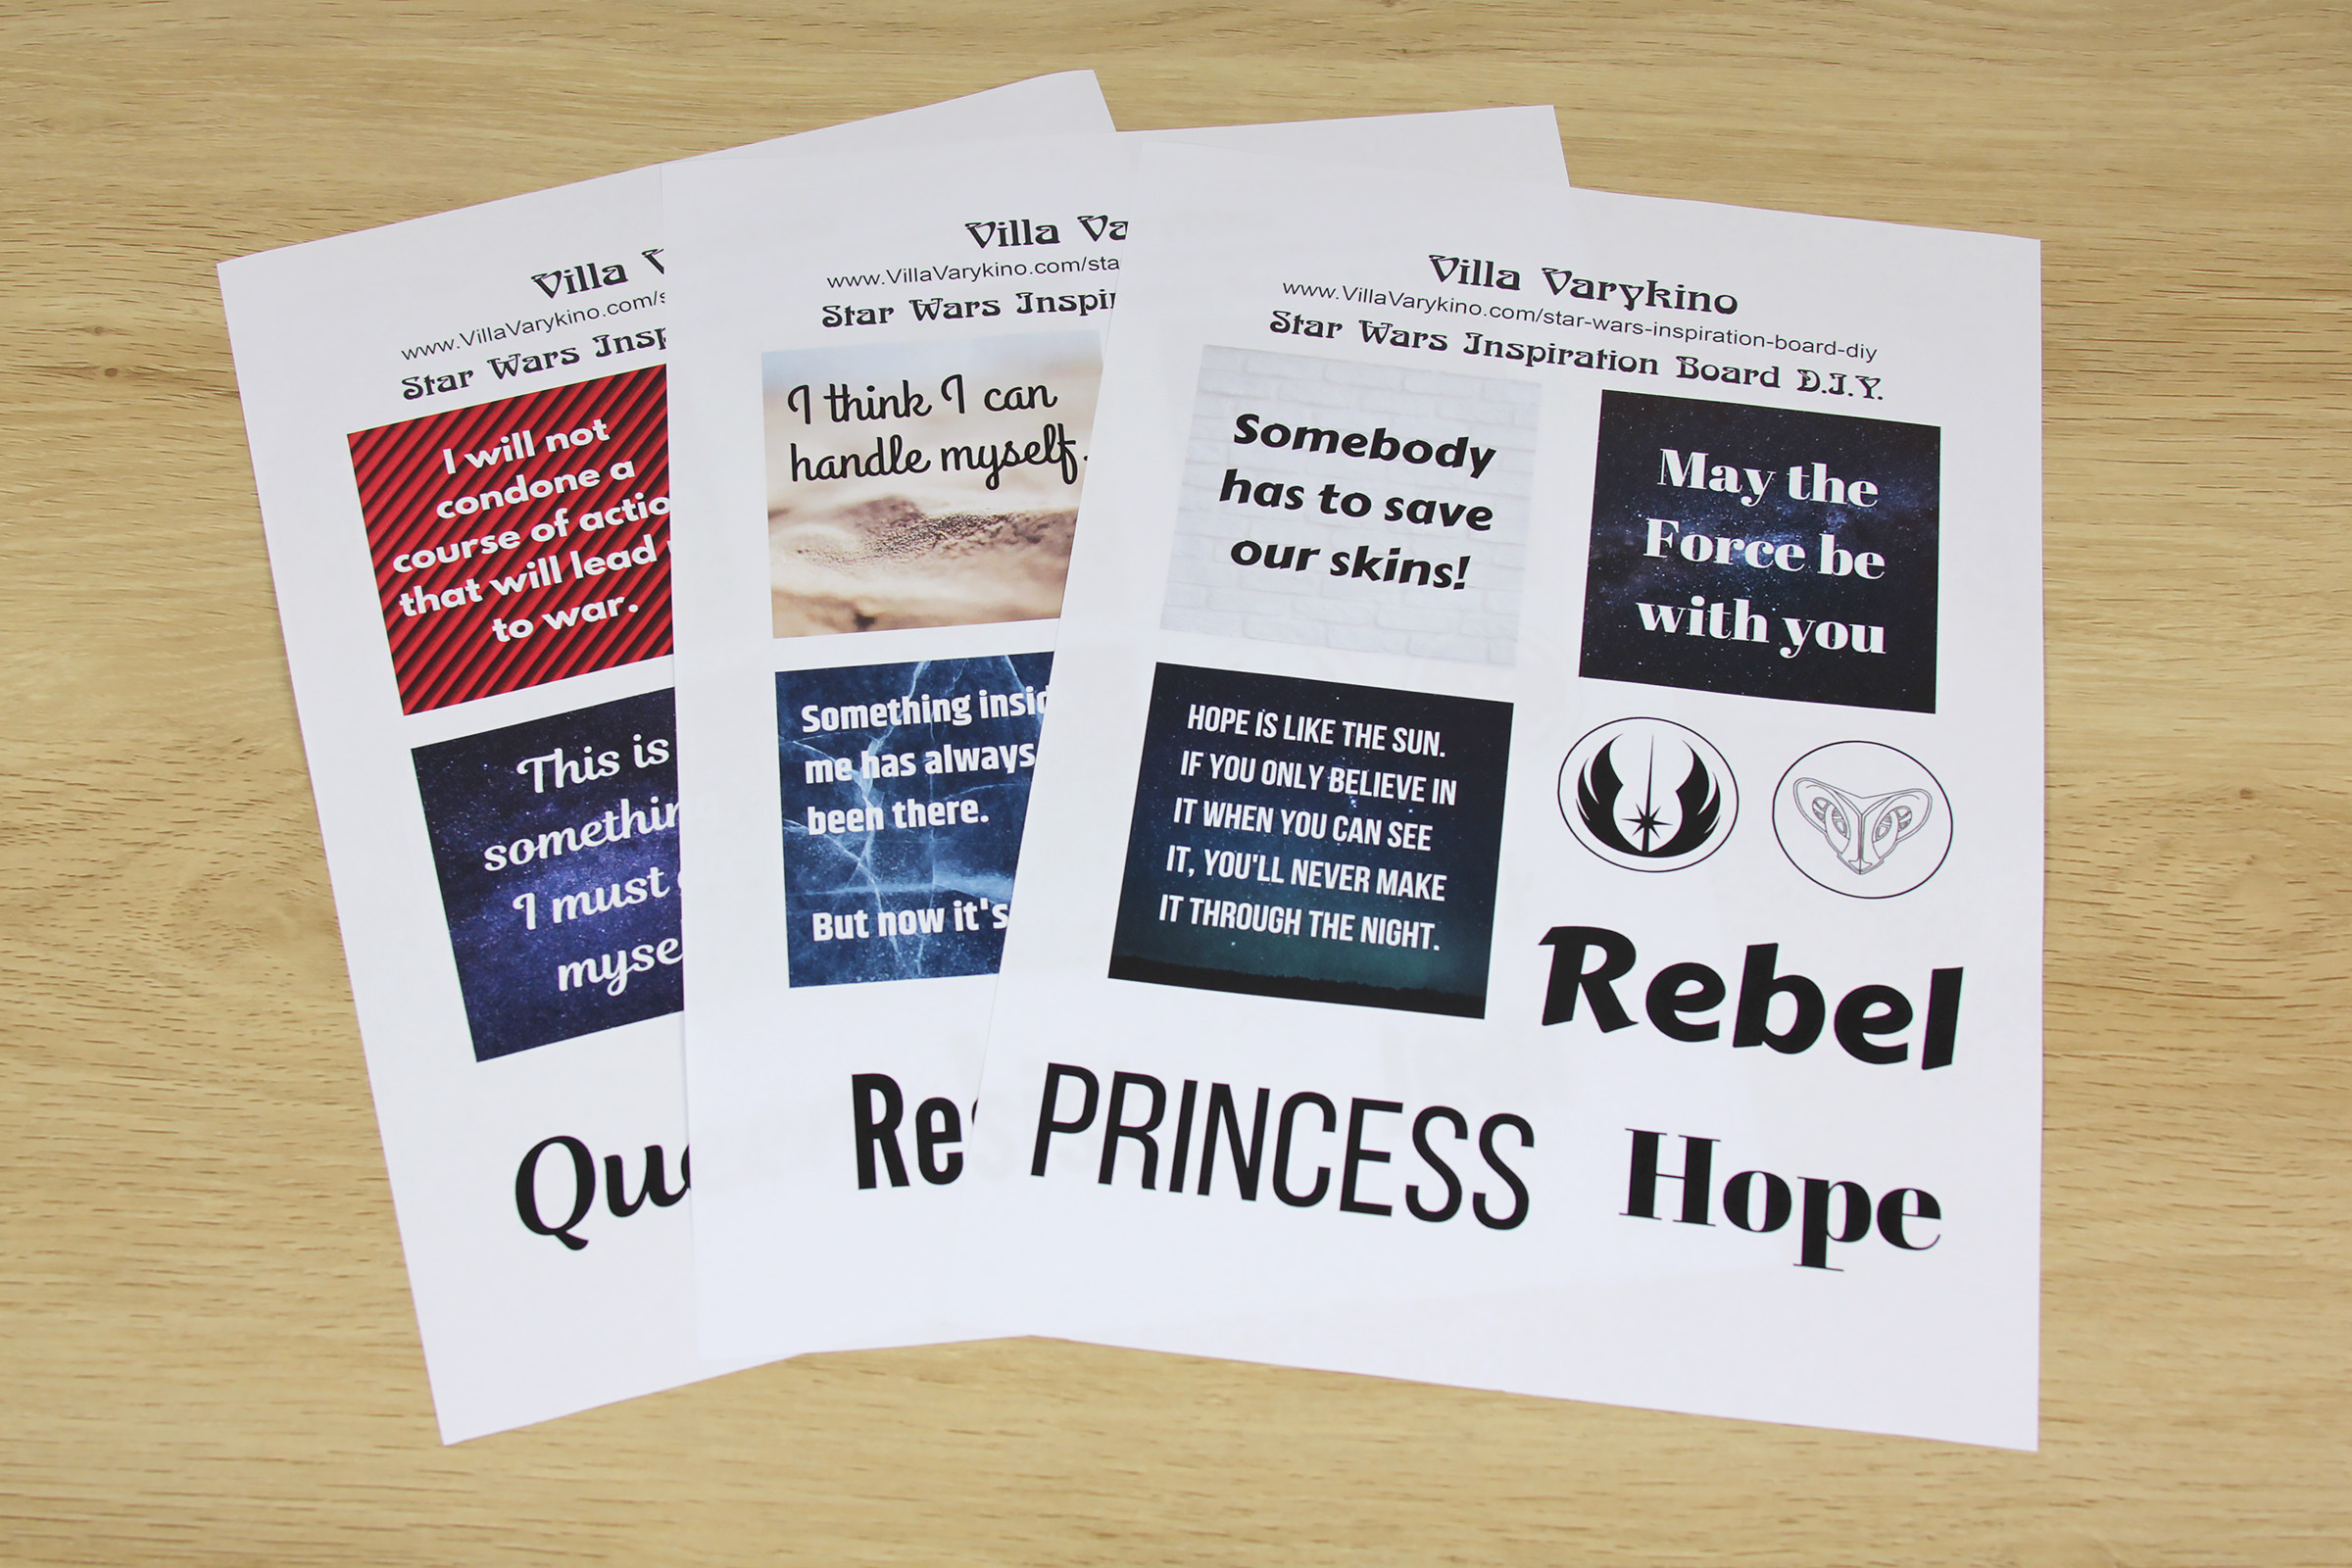
Free Printables to download (select the version for your desired paper size, right-click to download, and print at 300dpi) –
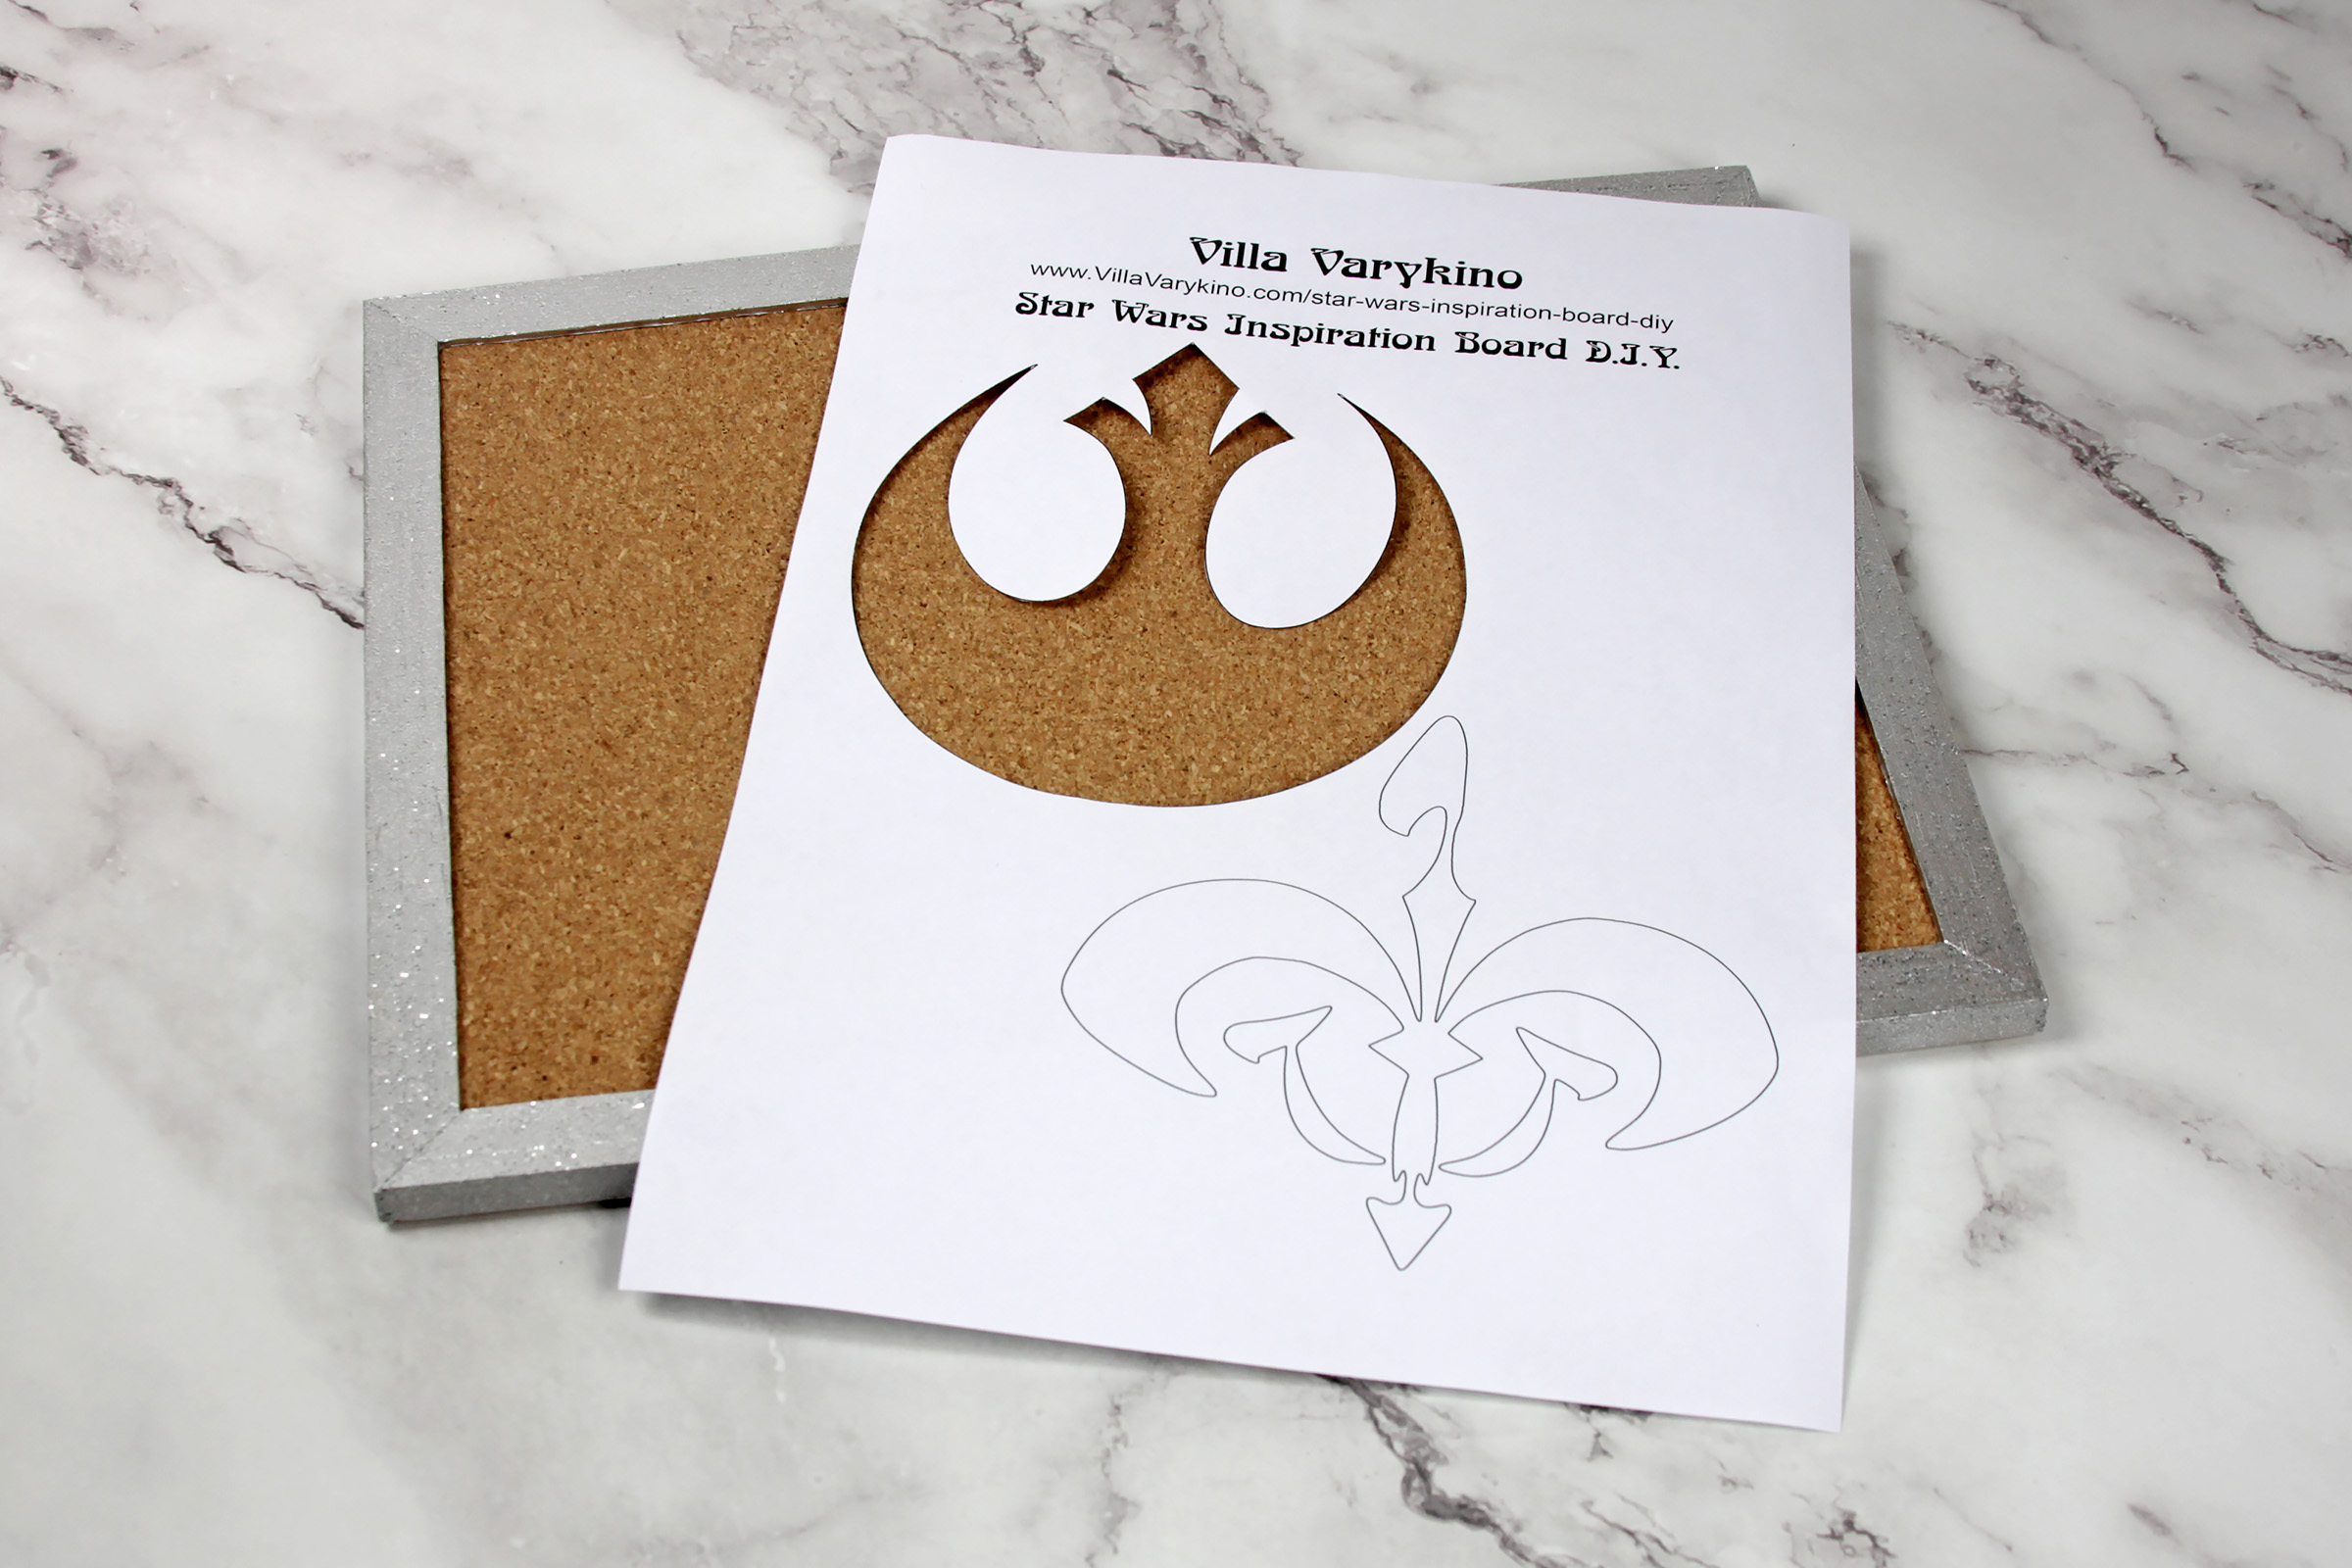
- Rebel and Naboo Symbol stencil cut-outs – A4 version – US Letter version
- Princess Leia – A4 version – US Letter version
- Padme’ Amidala – A4 version – US Letter version
- Rey – A4 version – US Letter version
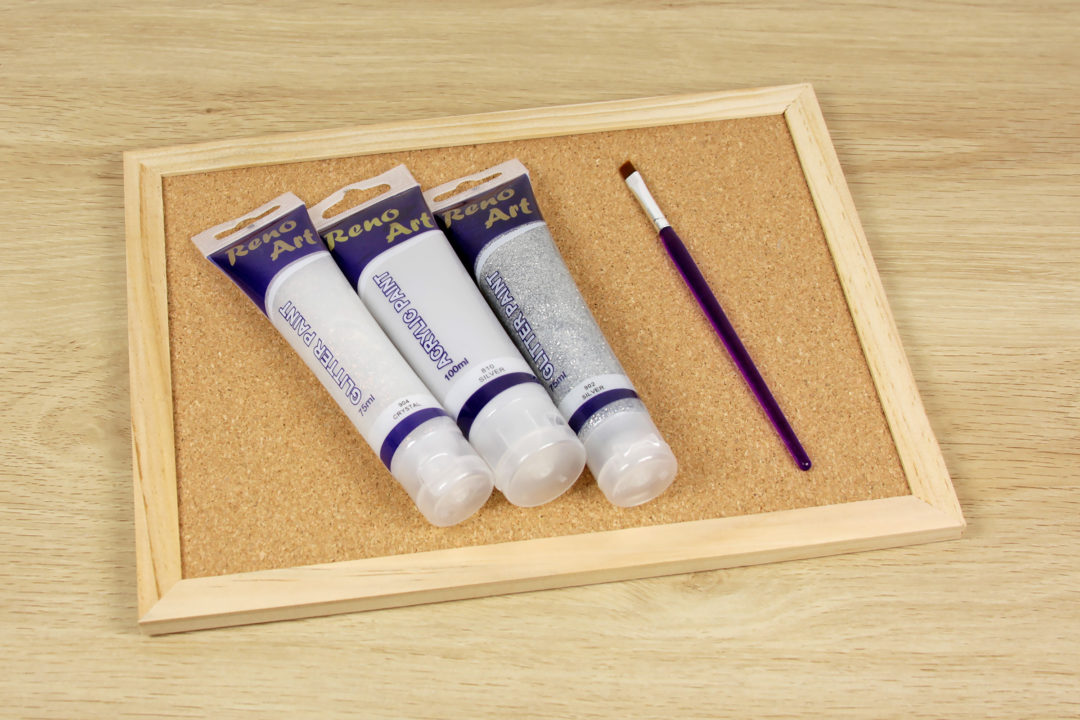
A quick trip to the craft store and I found all the supplies I needed – minus some I already had, like paint brushes, scissors and ruler. All up, the supplies cost just under NZ$24 – but the most expensive item was actually the hologram alphabet stickers! There were cheaper options, but I just loved the sparkle effect (and I needed two packs just to get the E’s I needed…).
Craft Supplies –
- Small cork board x3 (I used 9″ x 12″ boards)
- Artist/acrylic paint
- Paint brush
- Push pins
- Scissors
- Alphabet stickers
- Printed photos of Leia/Padme’/Rey
- Optional – ruler, pencil, spare paper
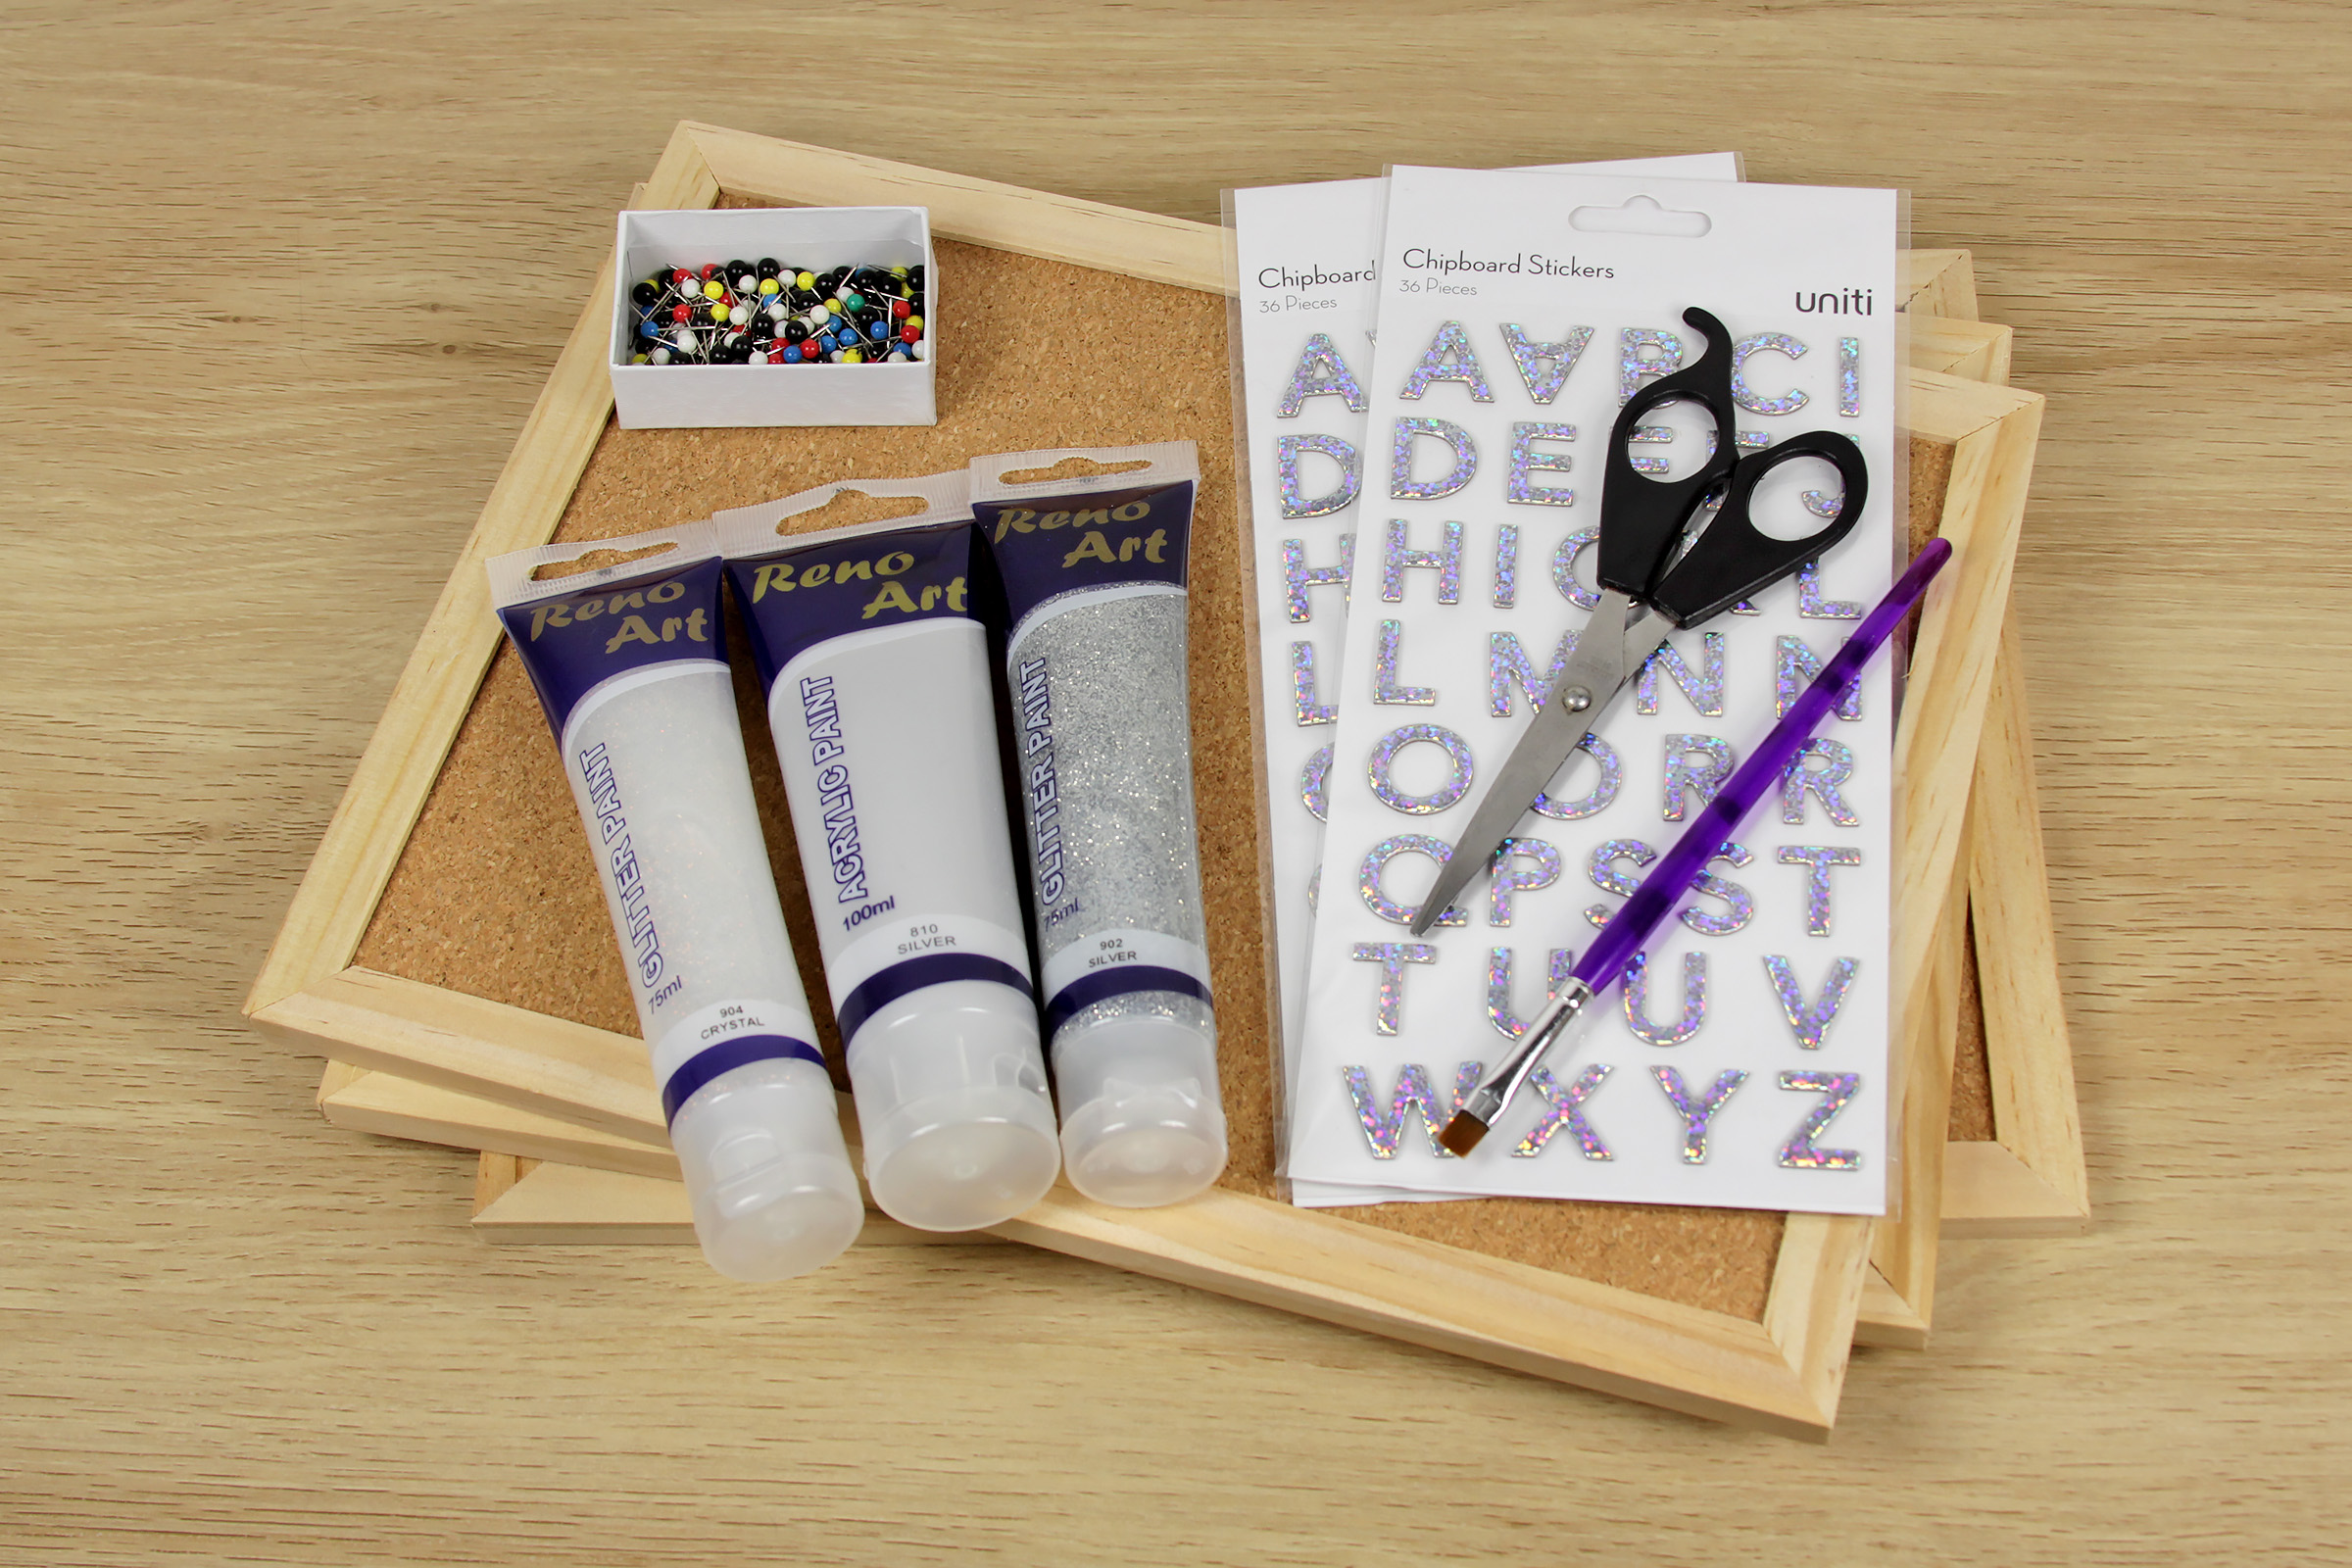
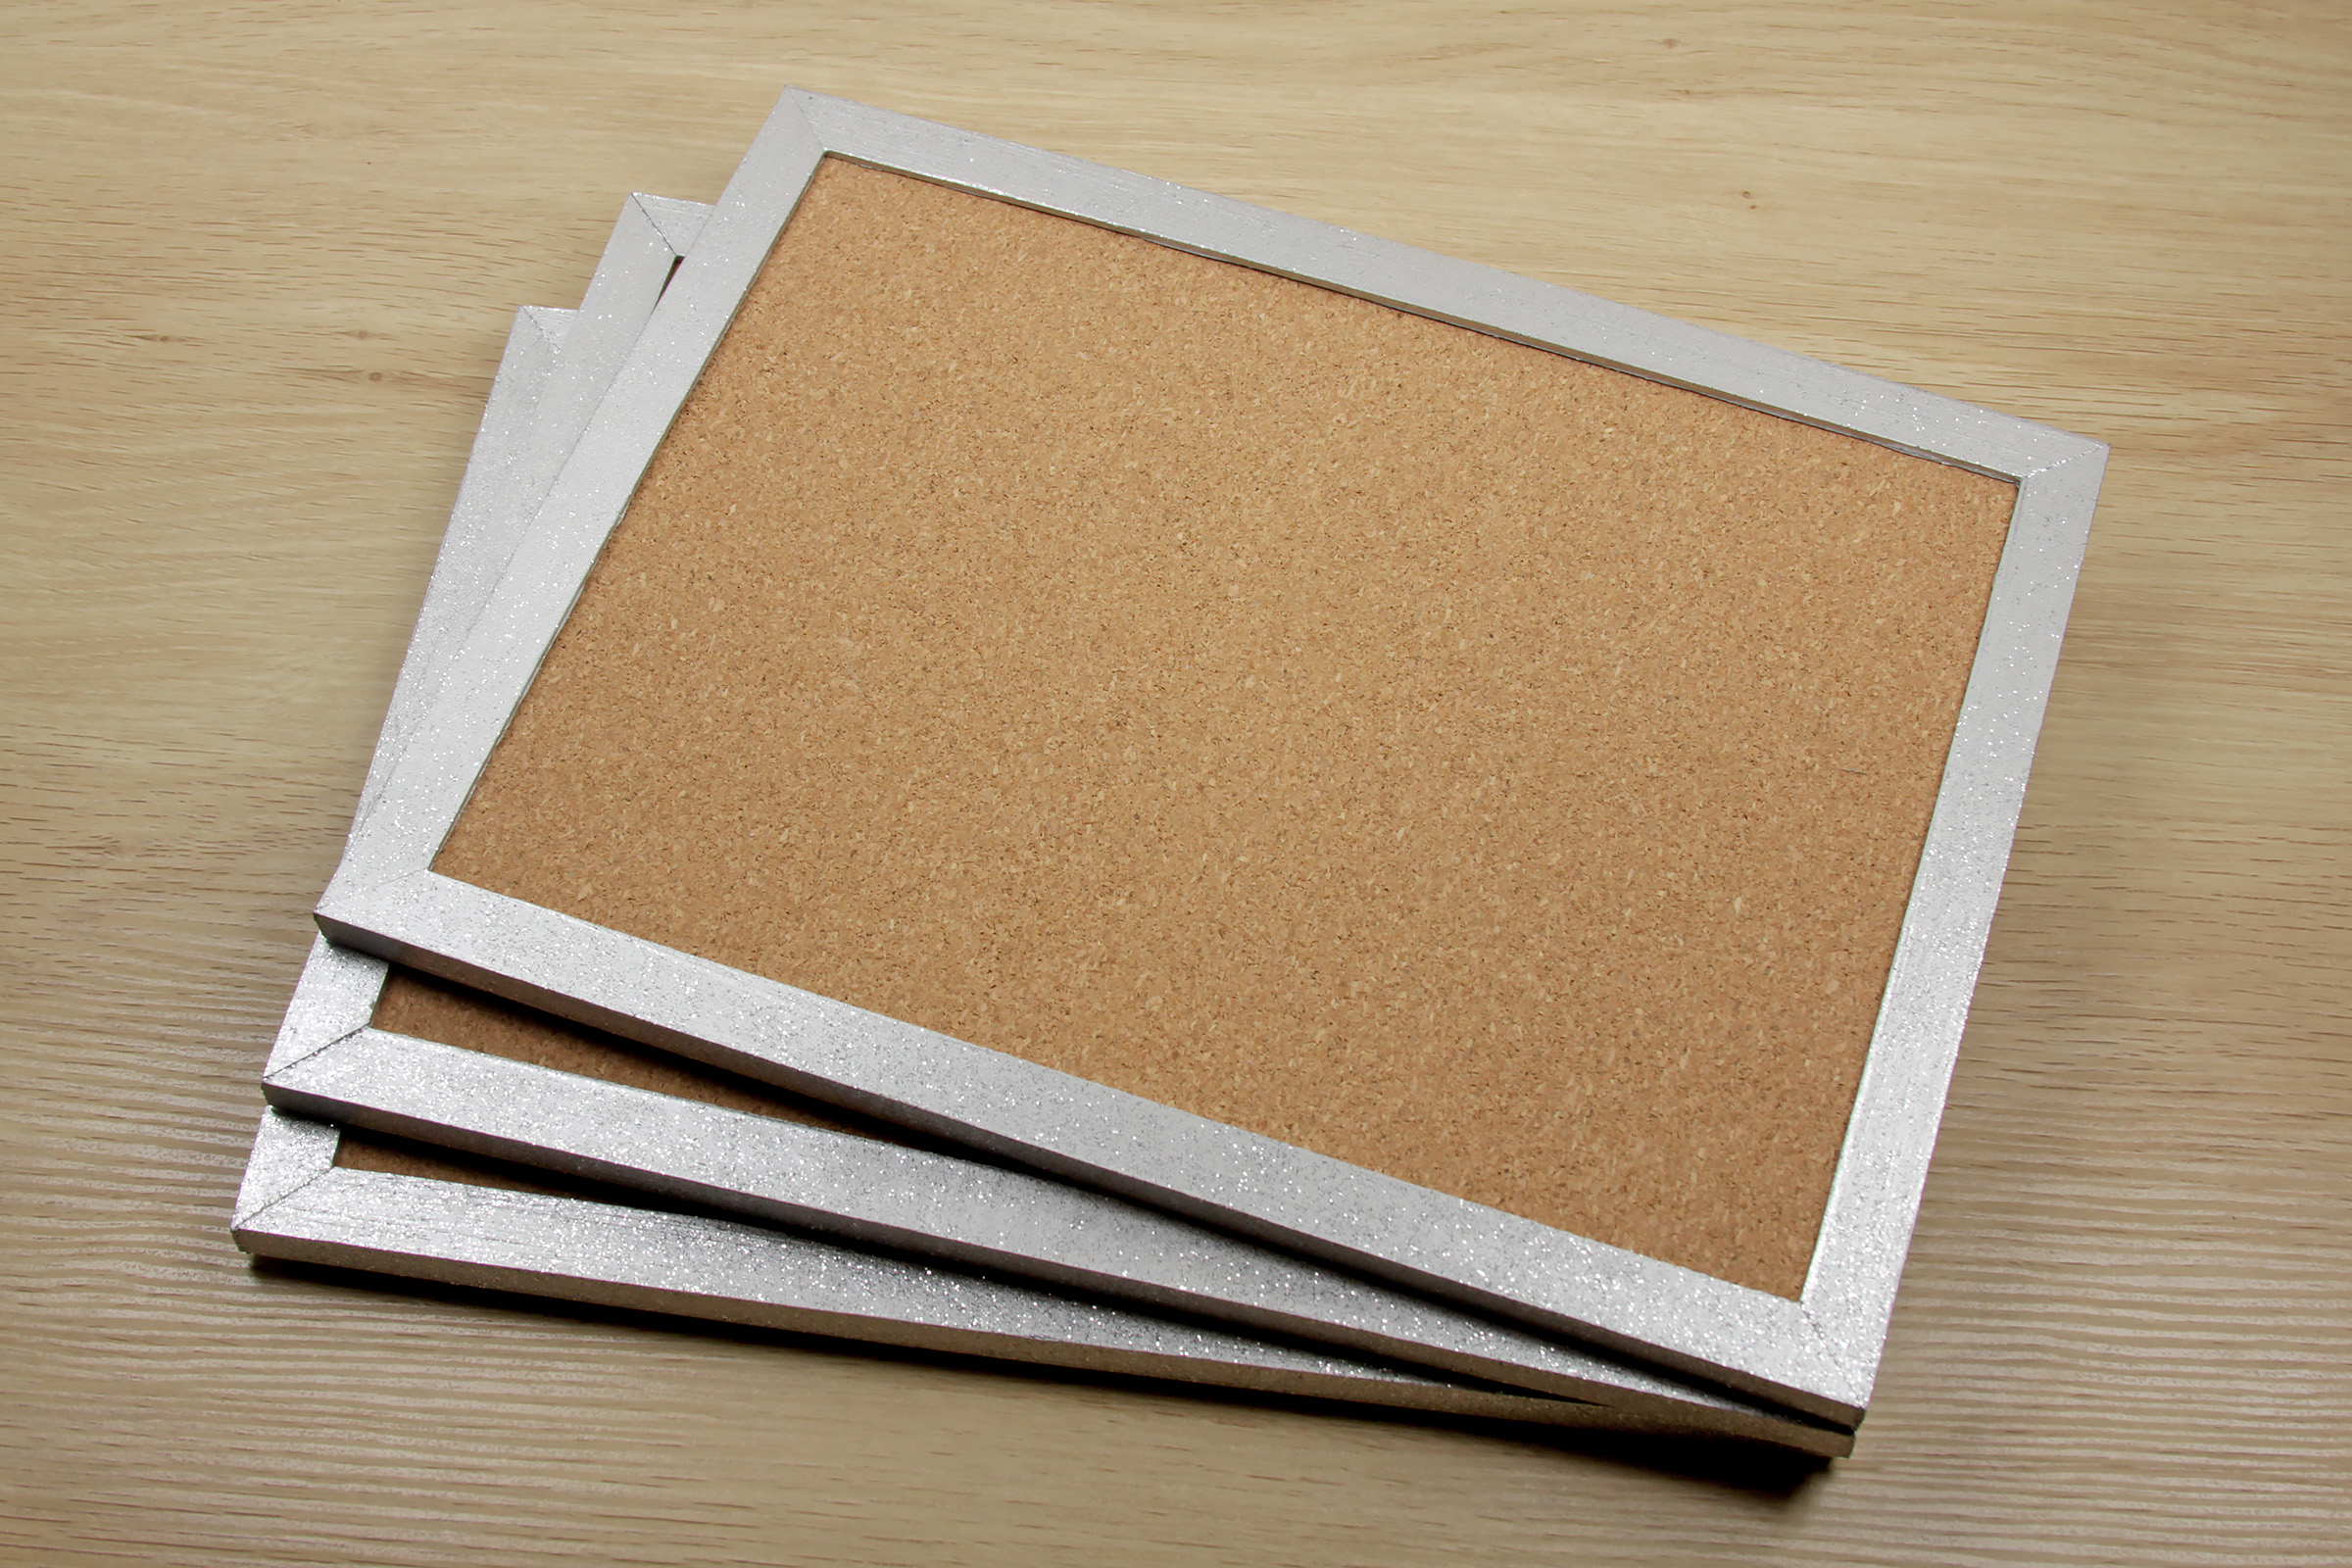
The first step was painting the wooden frames of each cork board. I chose silver paint, as a colour that coordinated well with each character, and just looks pretty – with some glitter on top of course! I found two styles of glitter paint that I loved – silver glitter to add on the frame, and ‘crystal’ glitter as a subtle accent for the painted symbols.
I used some spare scrap paper to mask the cork surface to avoid getting paint on the cork while I handpainted the wooden frame. It took a few coats of the silver paint to get the finish I was looking for, as I wanted to completely cover the wood grain. Once the silver paint had dried well, I painted a few coats of the glitter paint – the paint I used has a clear base for the glitter, so the silver paint still shows up nicely under the glitter coats.
I used small scissors to carefully cut out the Rebel symbol and Naboo symbol stencils – I printed this page twice, so I had a bit of extra room in case I made a mistake. I took my time here, as the accuracy of the stencil really helps to get a tidy paint design later.
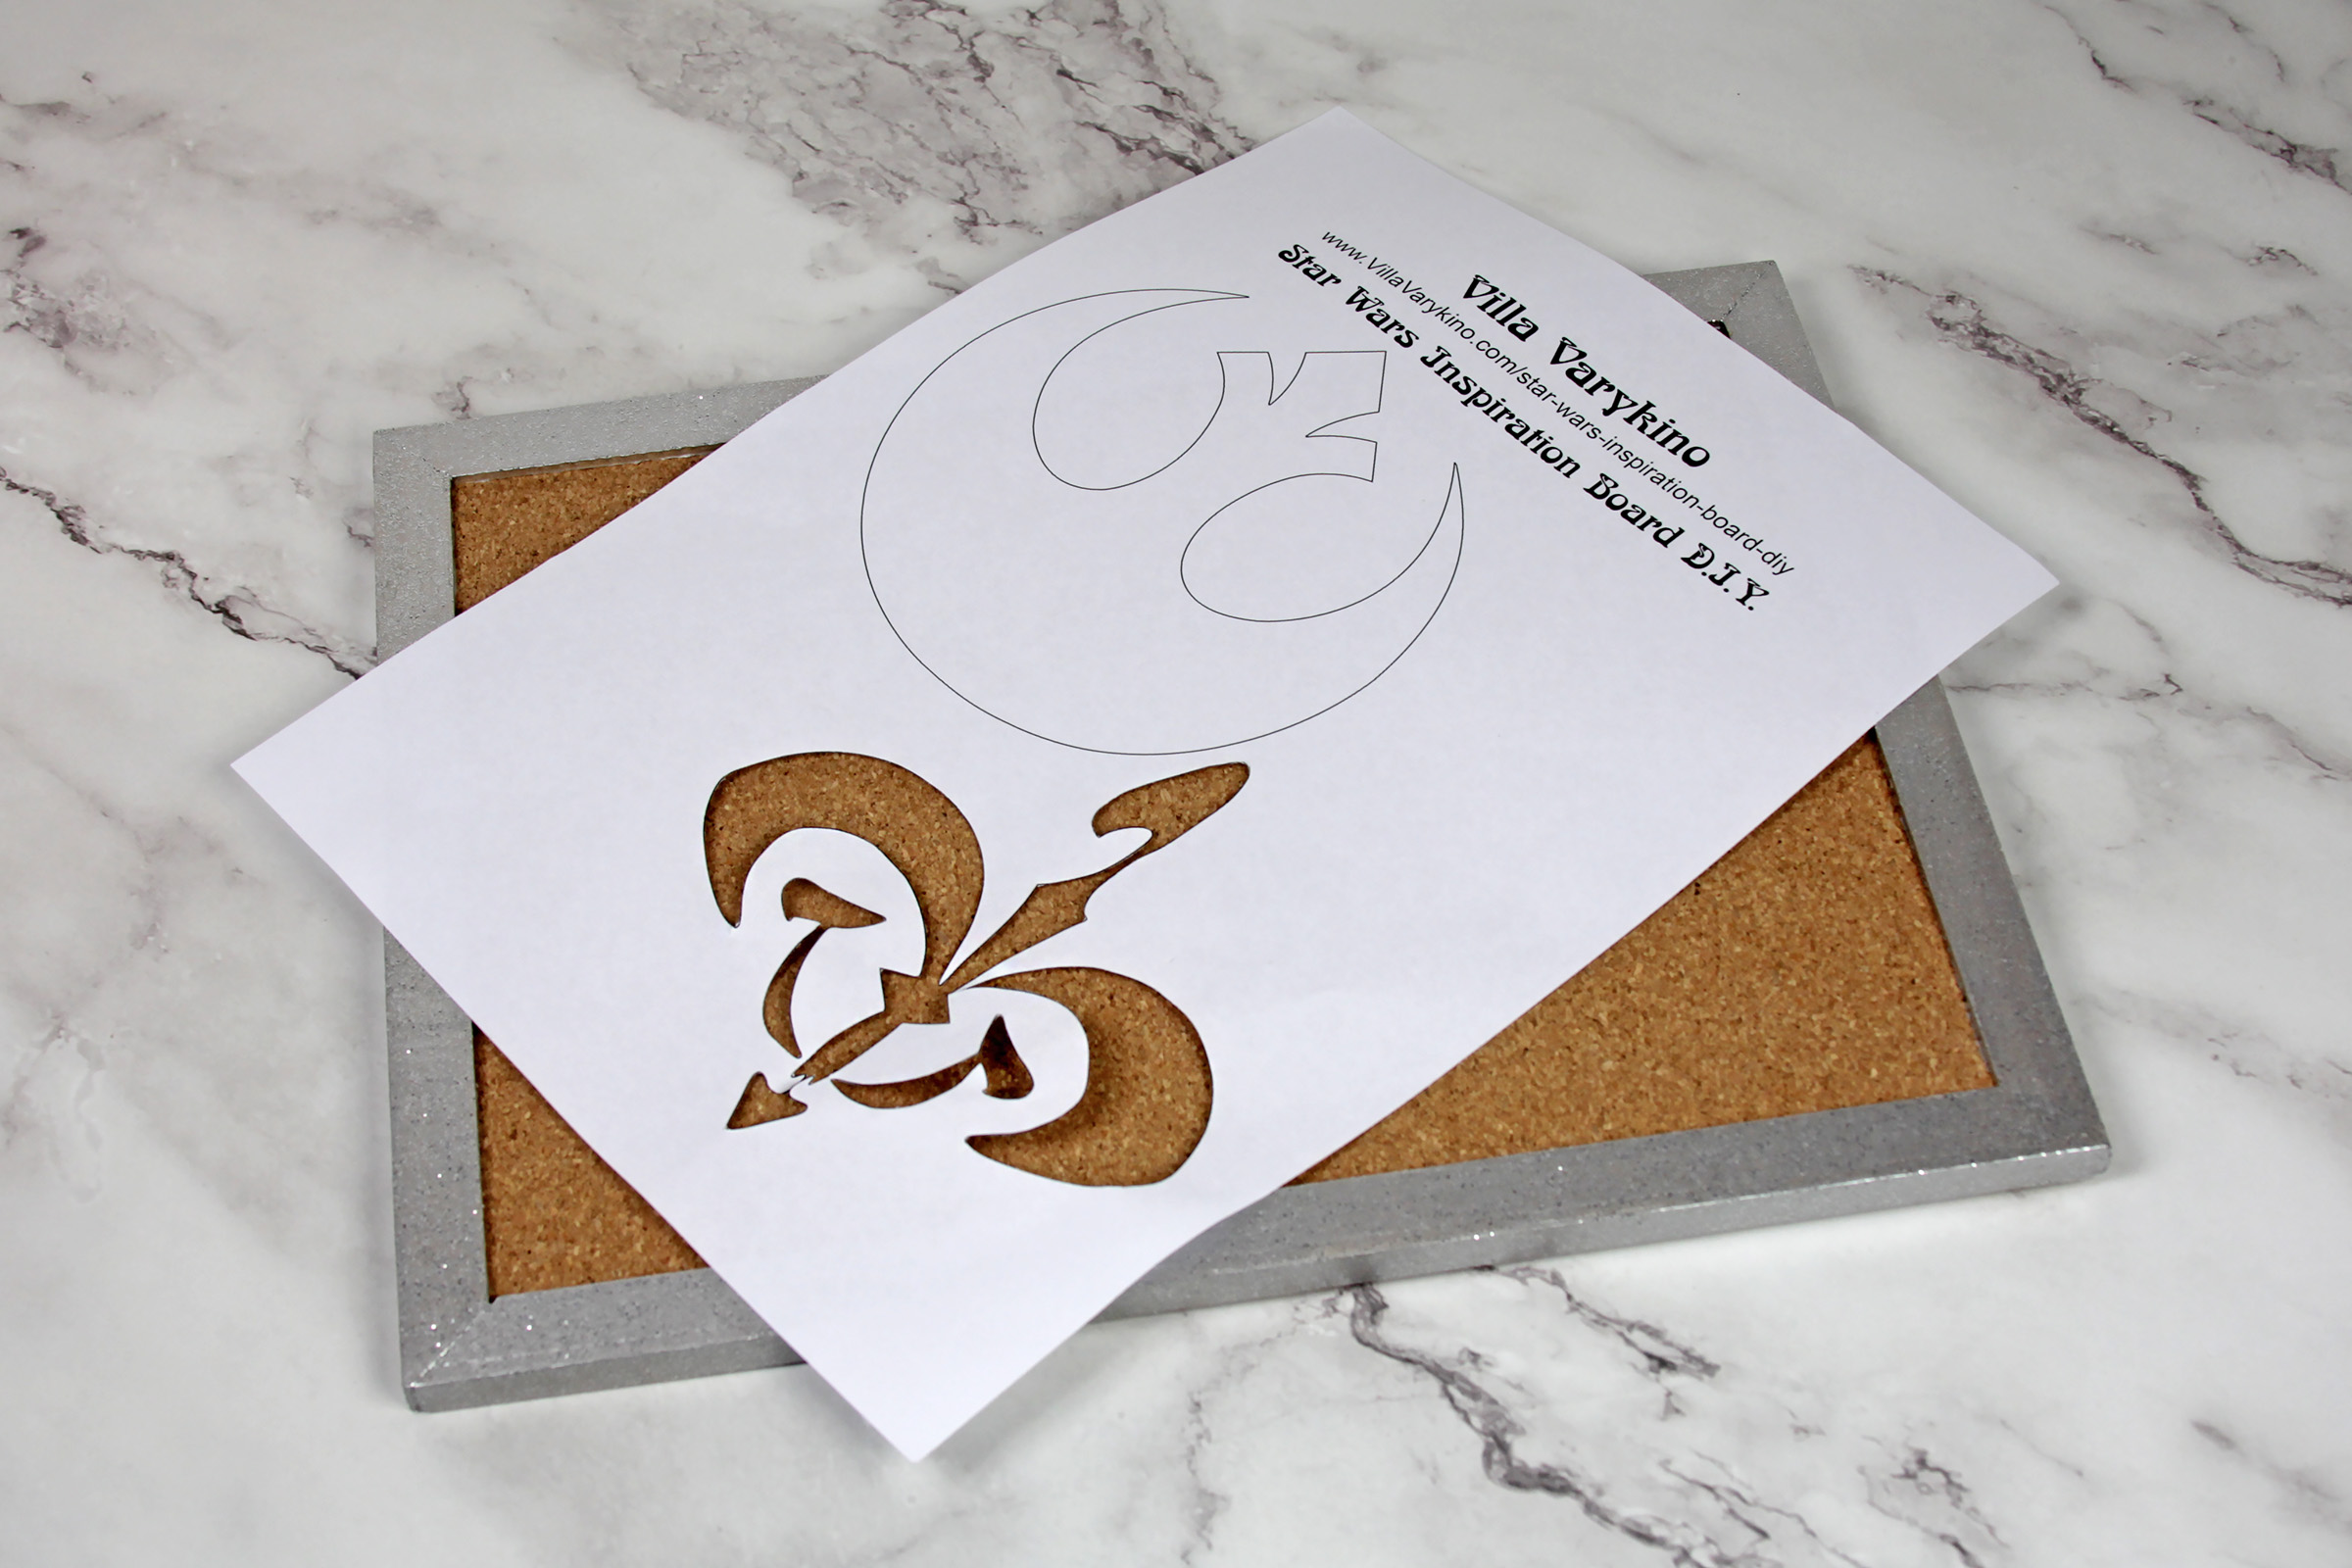
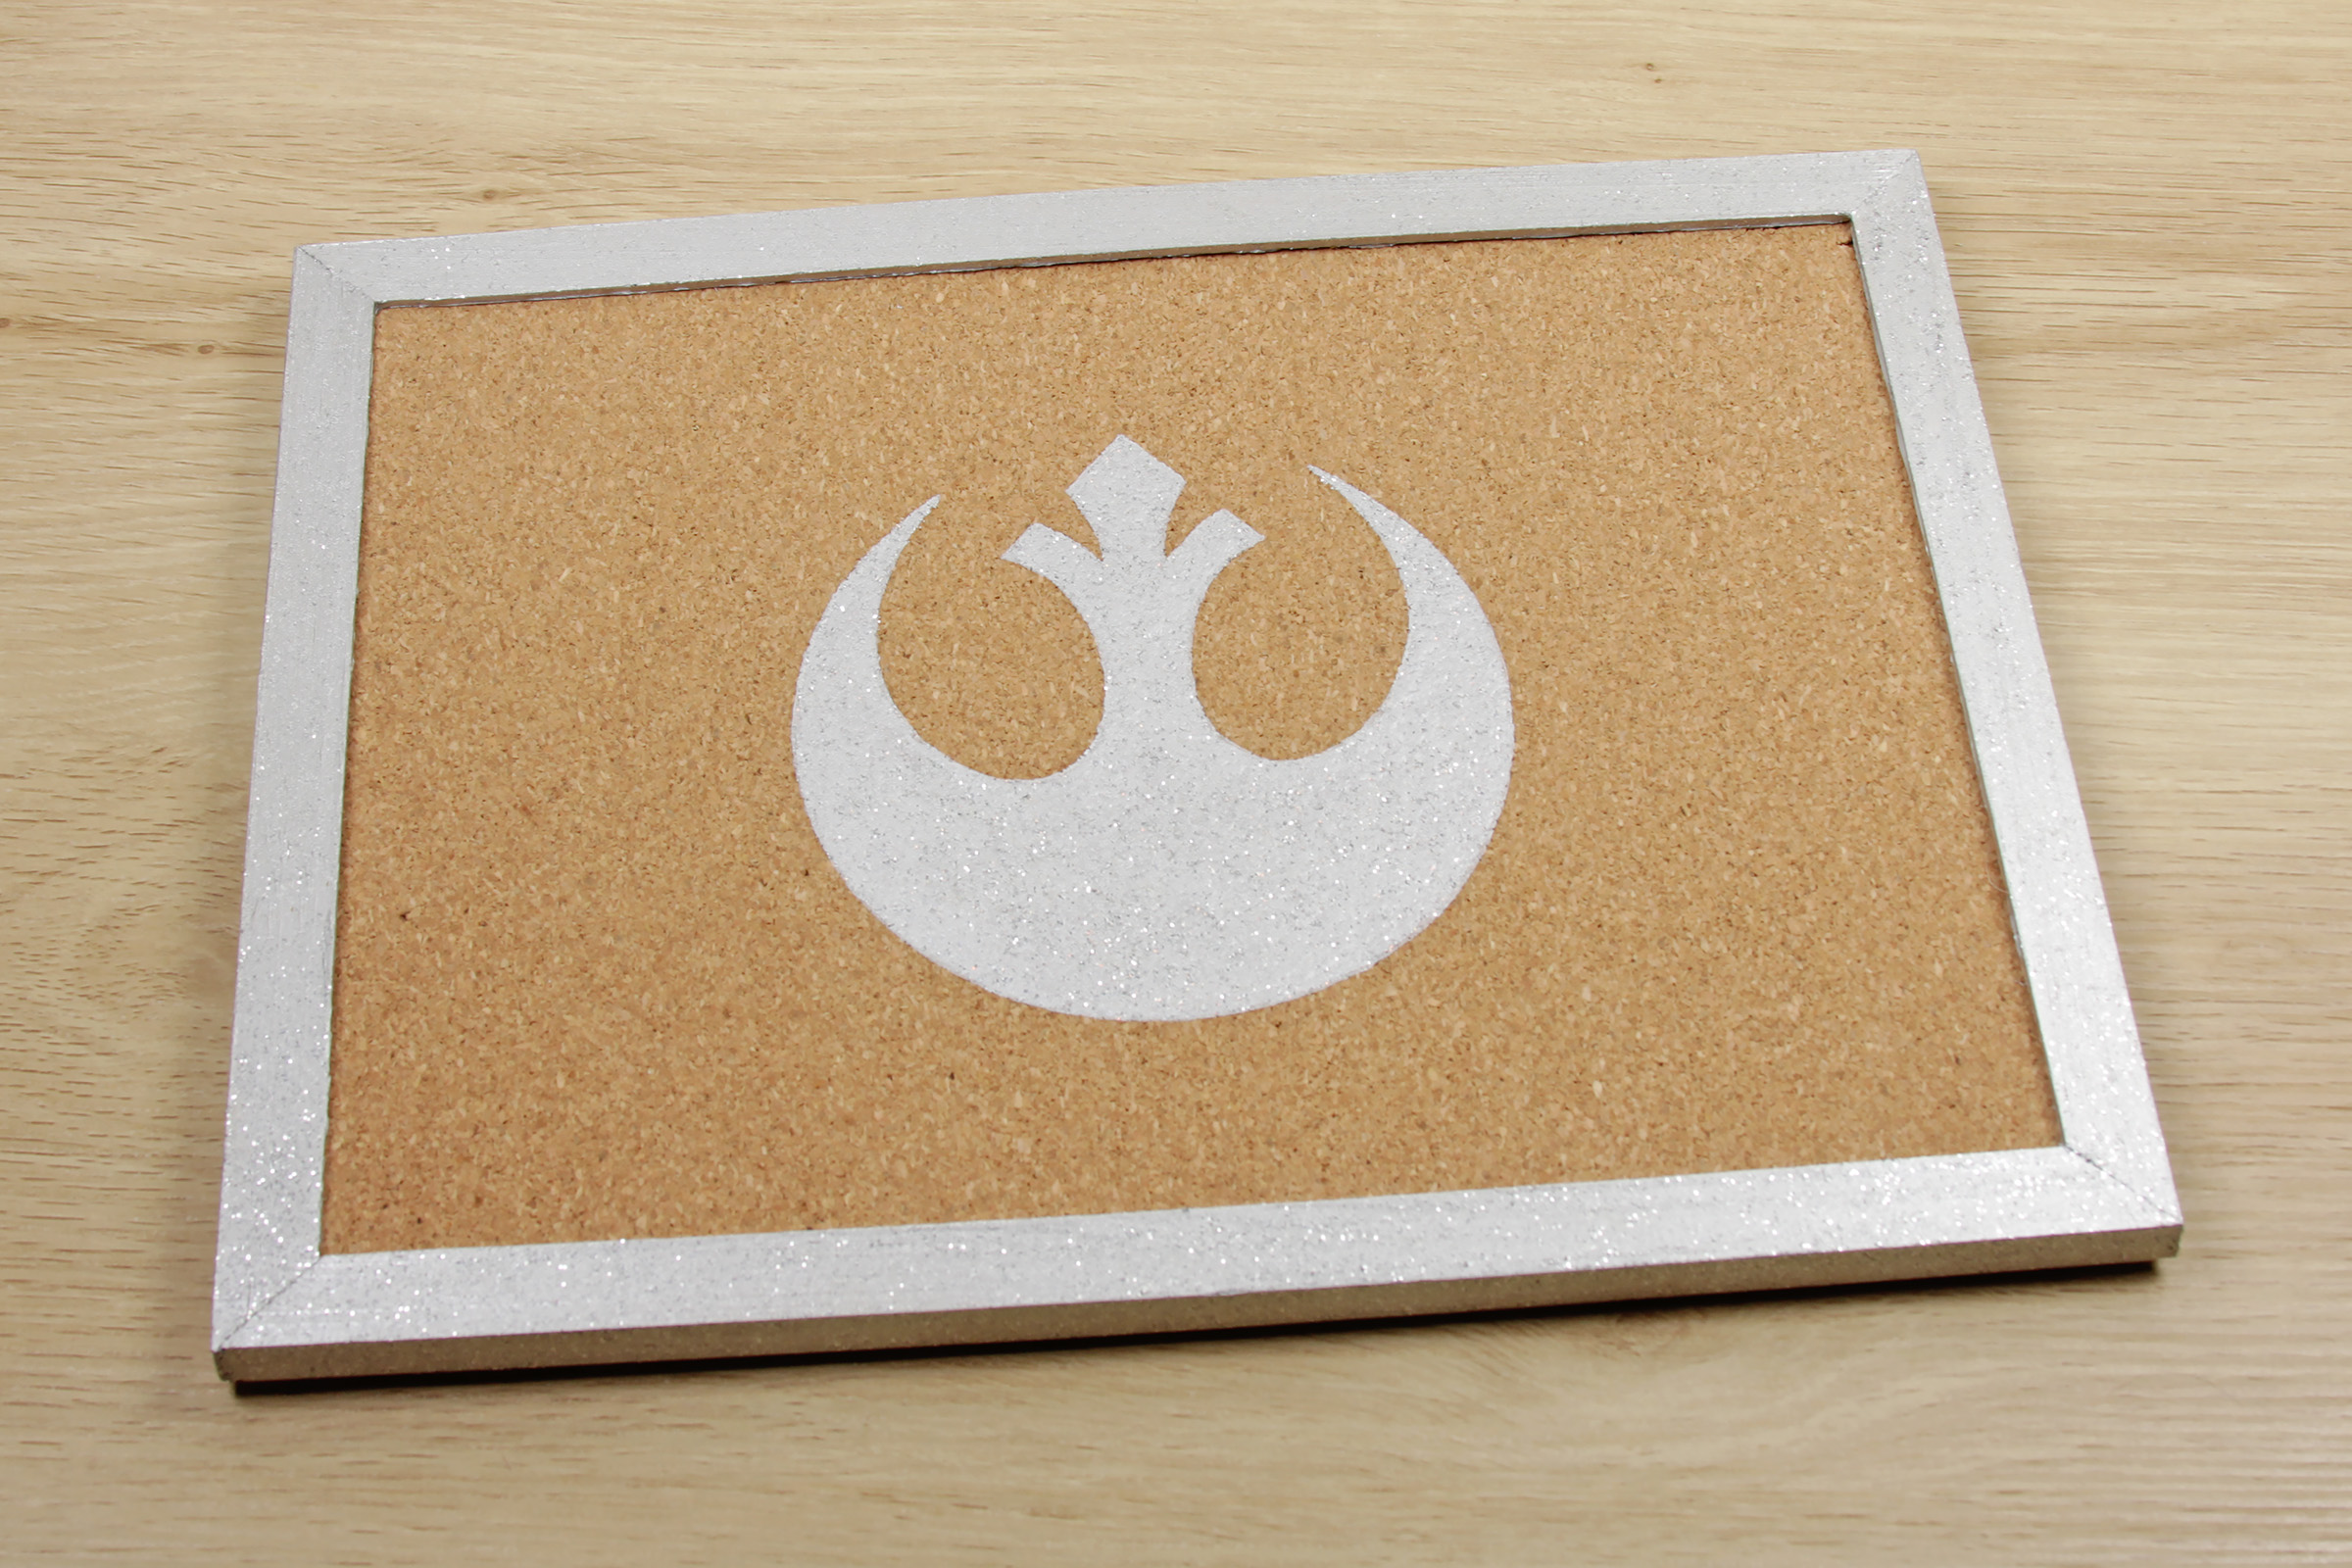
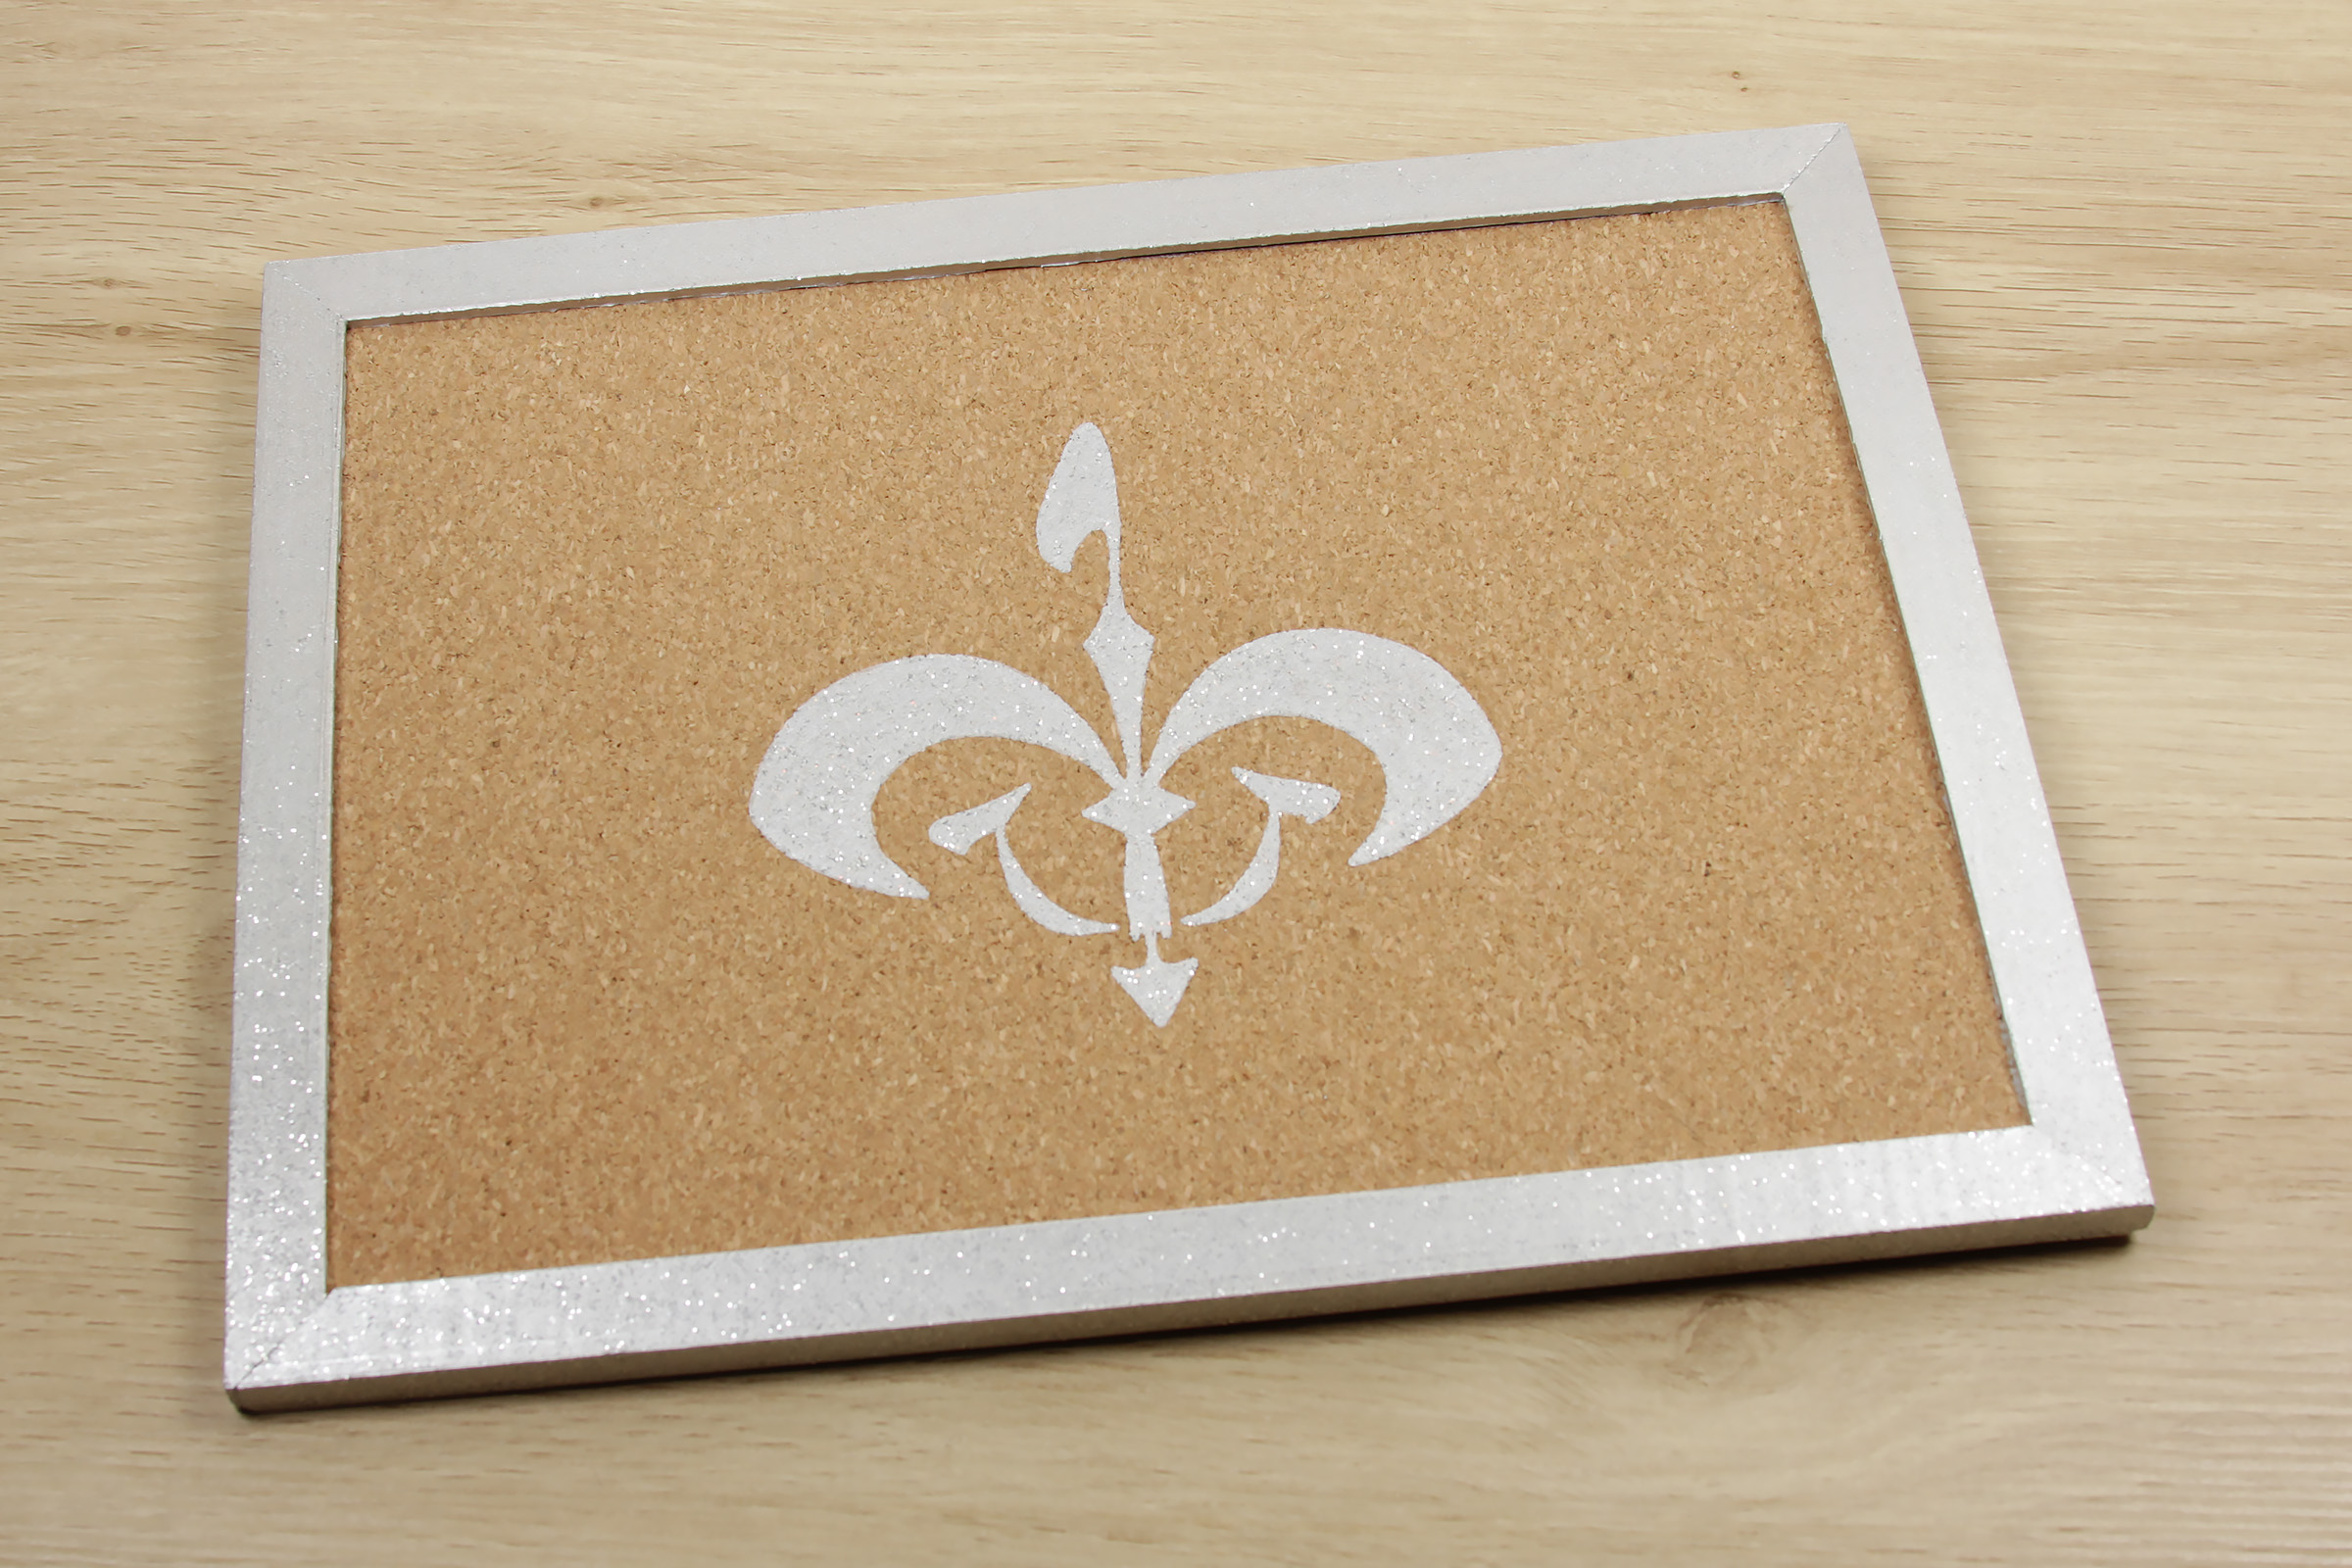
I used a ruler to find the center of the pinboard, then pinned the stencils onto the cork to secure in place. Using a small paint brush, I used the silver paint and carefully hand painted the outline of the symbols.
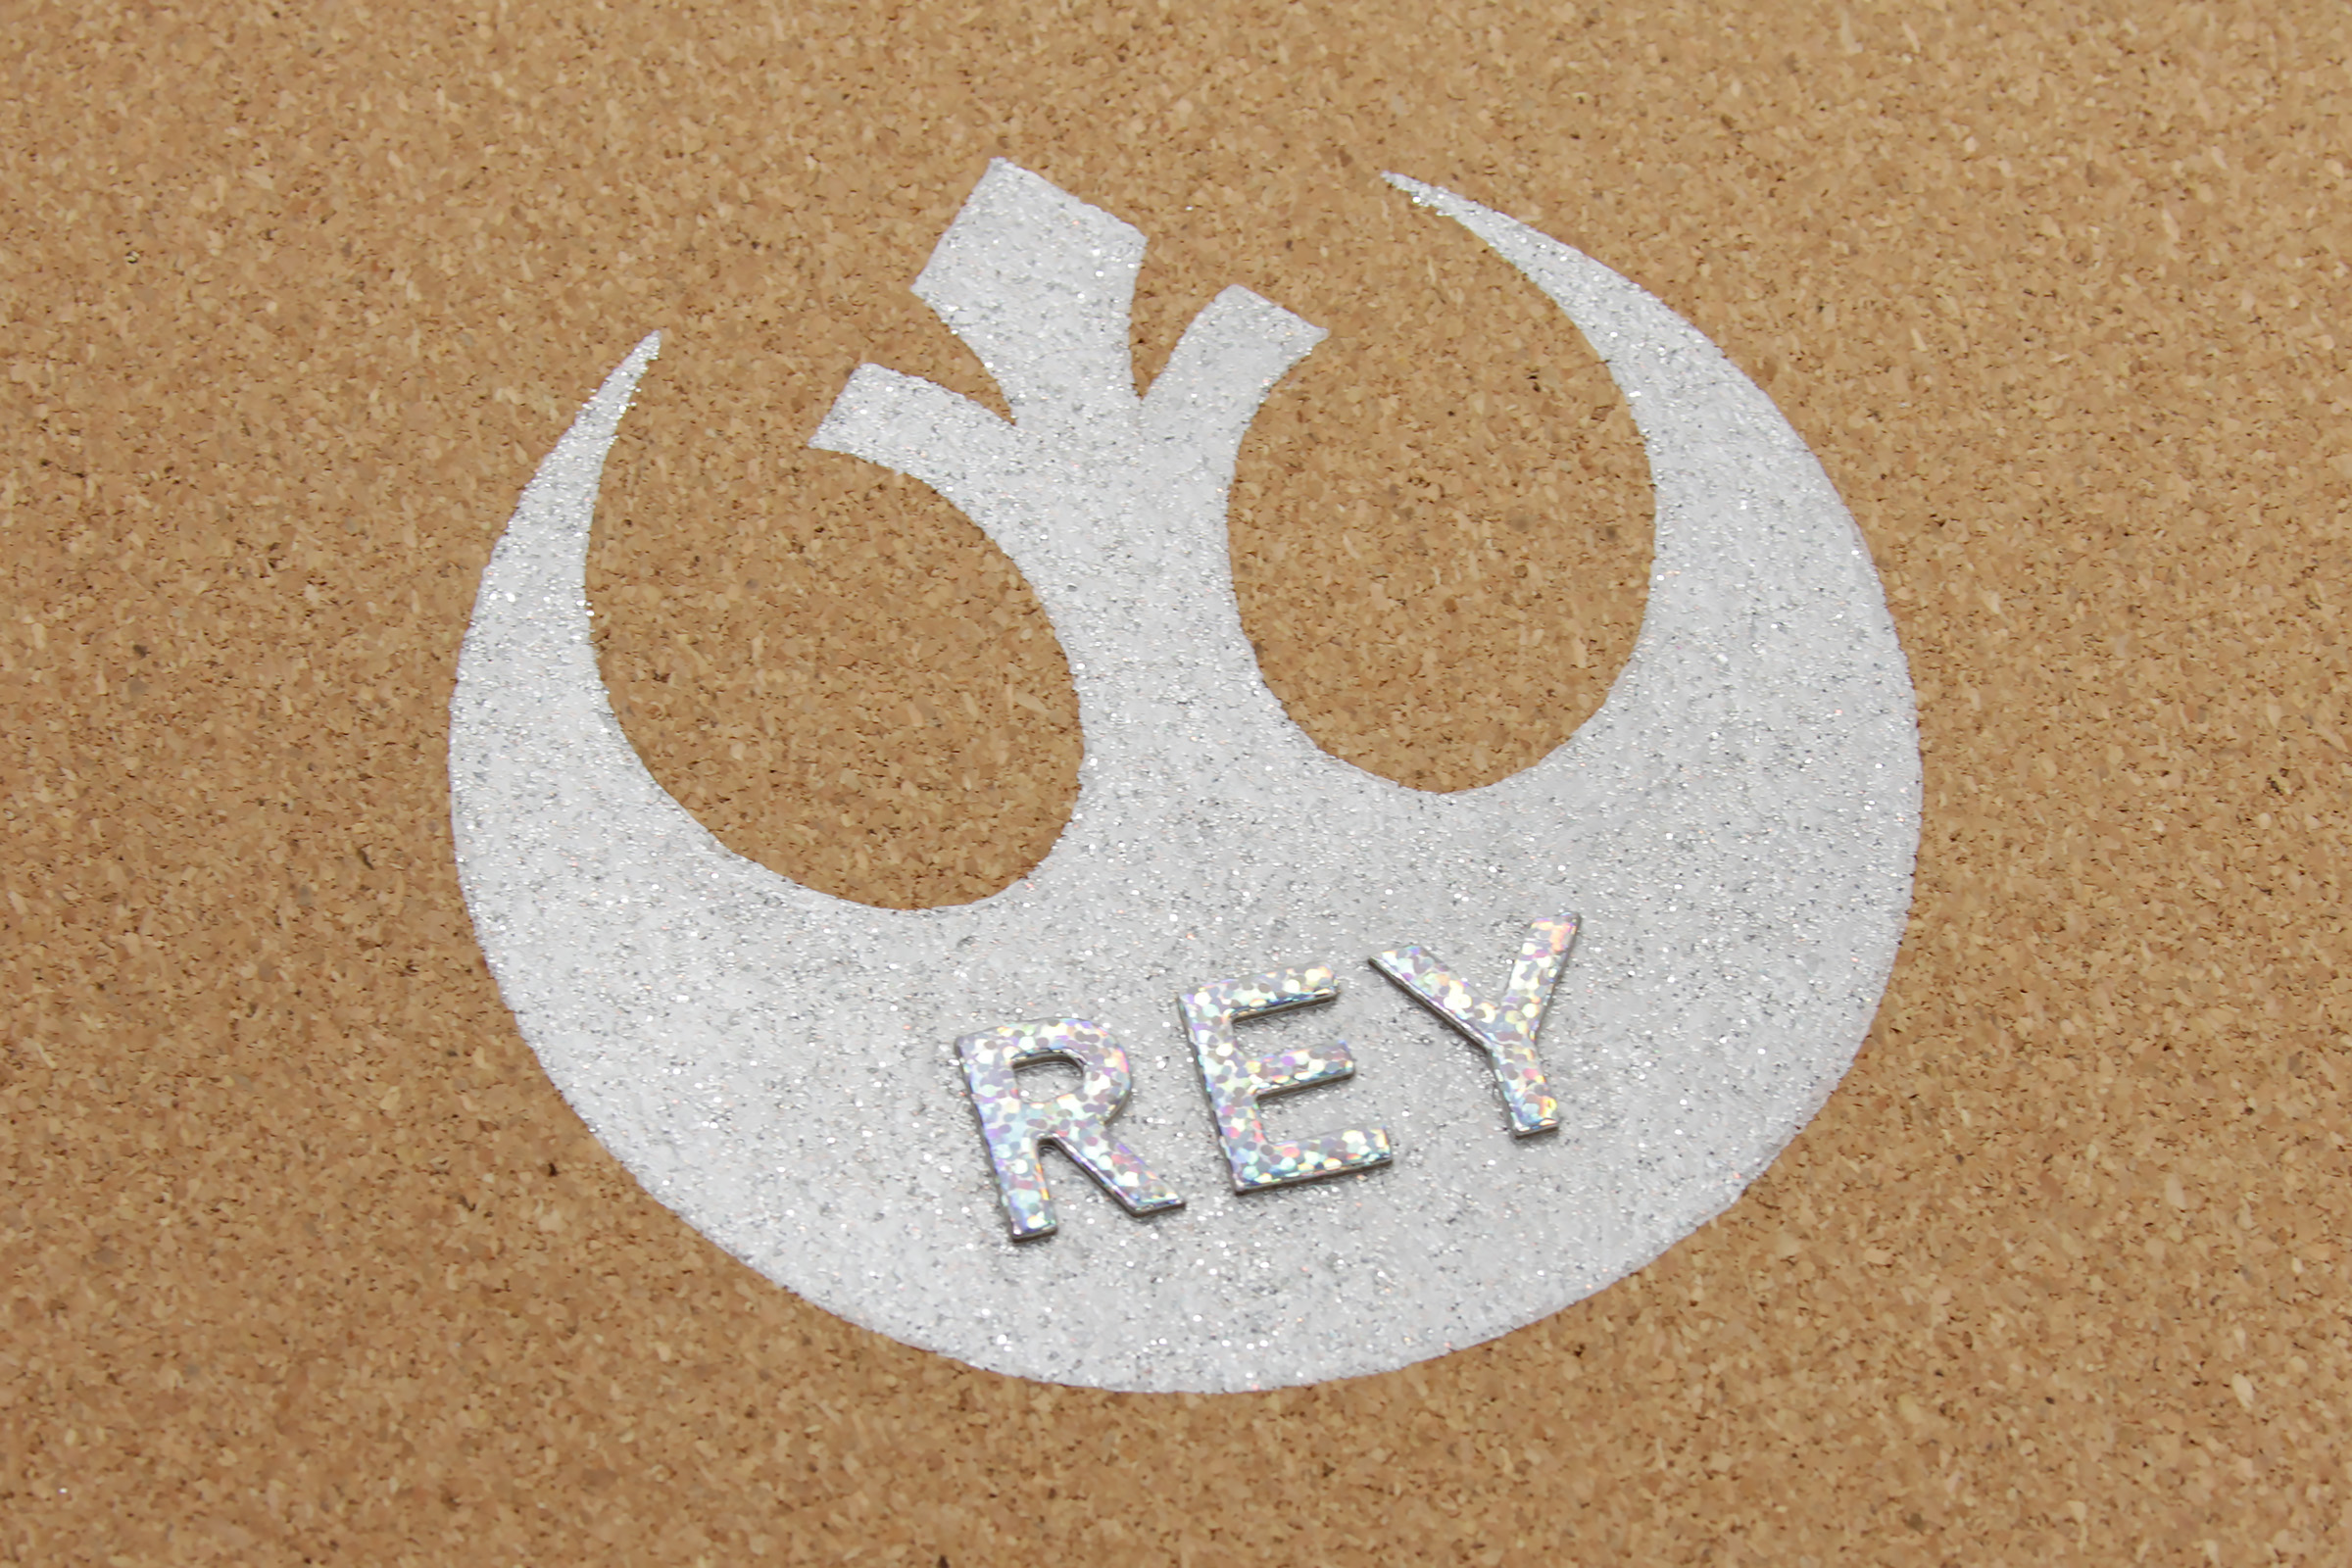
Once I was happy I had the outline painted, I removed the stencil and filled in the rest of the symbol. I used about two or three coats of the silver paint to get a nice even coverage on the textured cork surface, then finished it off with a few coats of the crystal glitter and silver glitter paints. So sparkly!
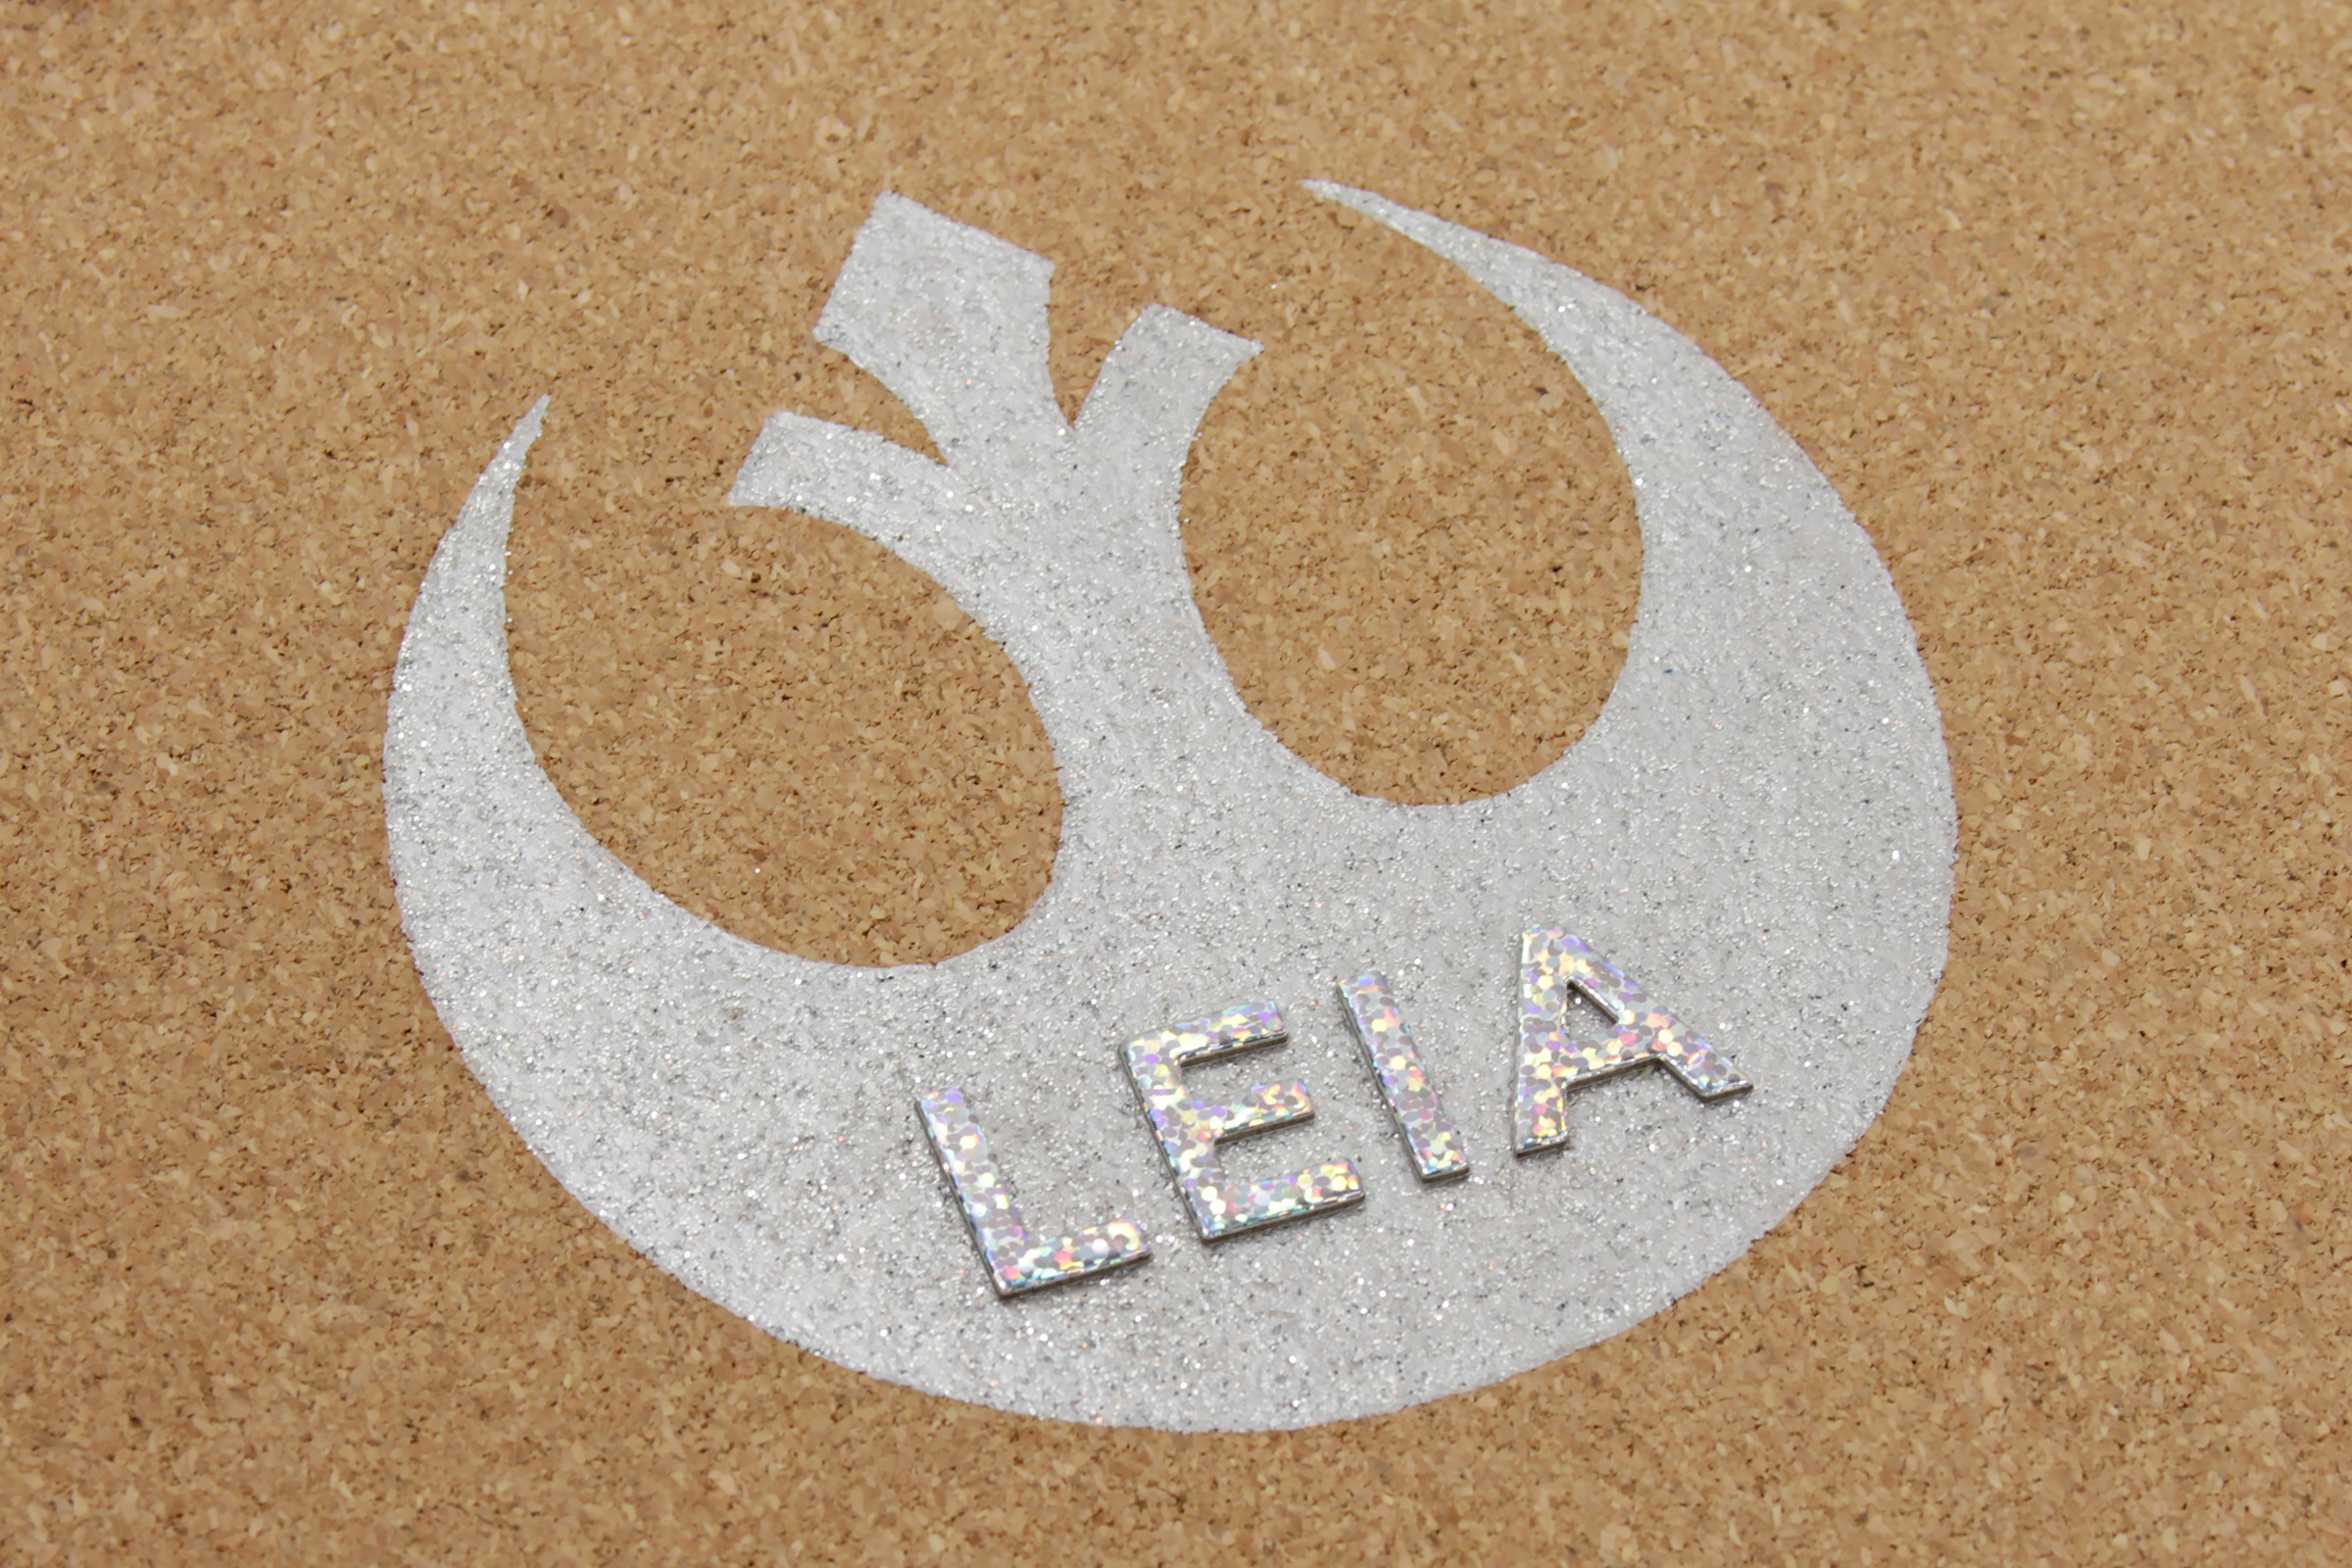
Once the painted symbols were fully dry, I got my hologram alphabet stickers to spell out the character names for Padme’, Leia, and Rey. I used a ruler to line up all the letters evenly, and to help get the names as centered as I could. I was able to gently place the stickers on the pinboard and carefully adjust them into place, before pressing them down firmly to stick securely.
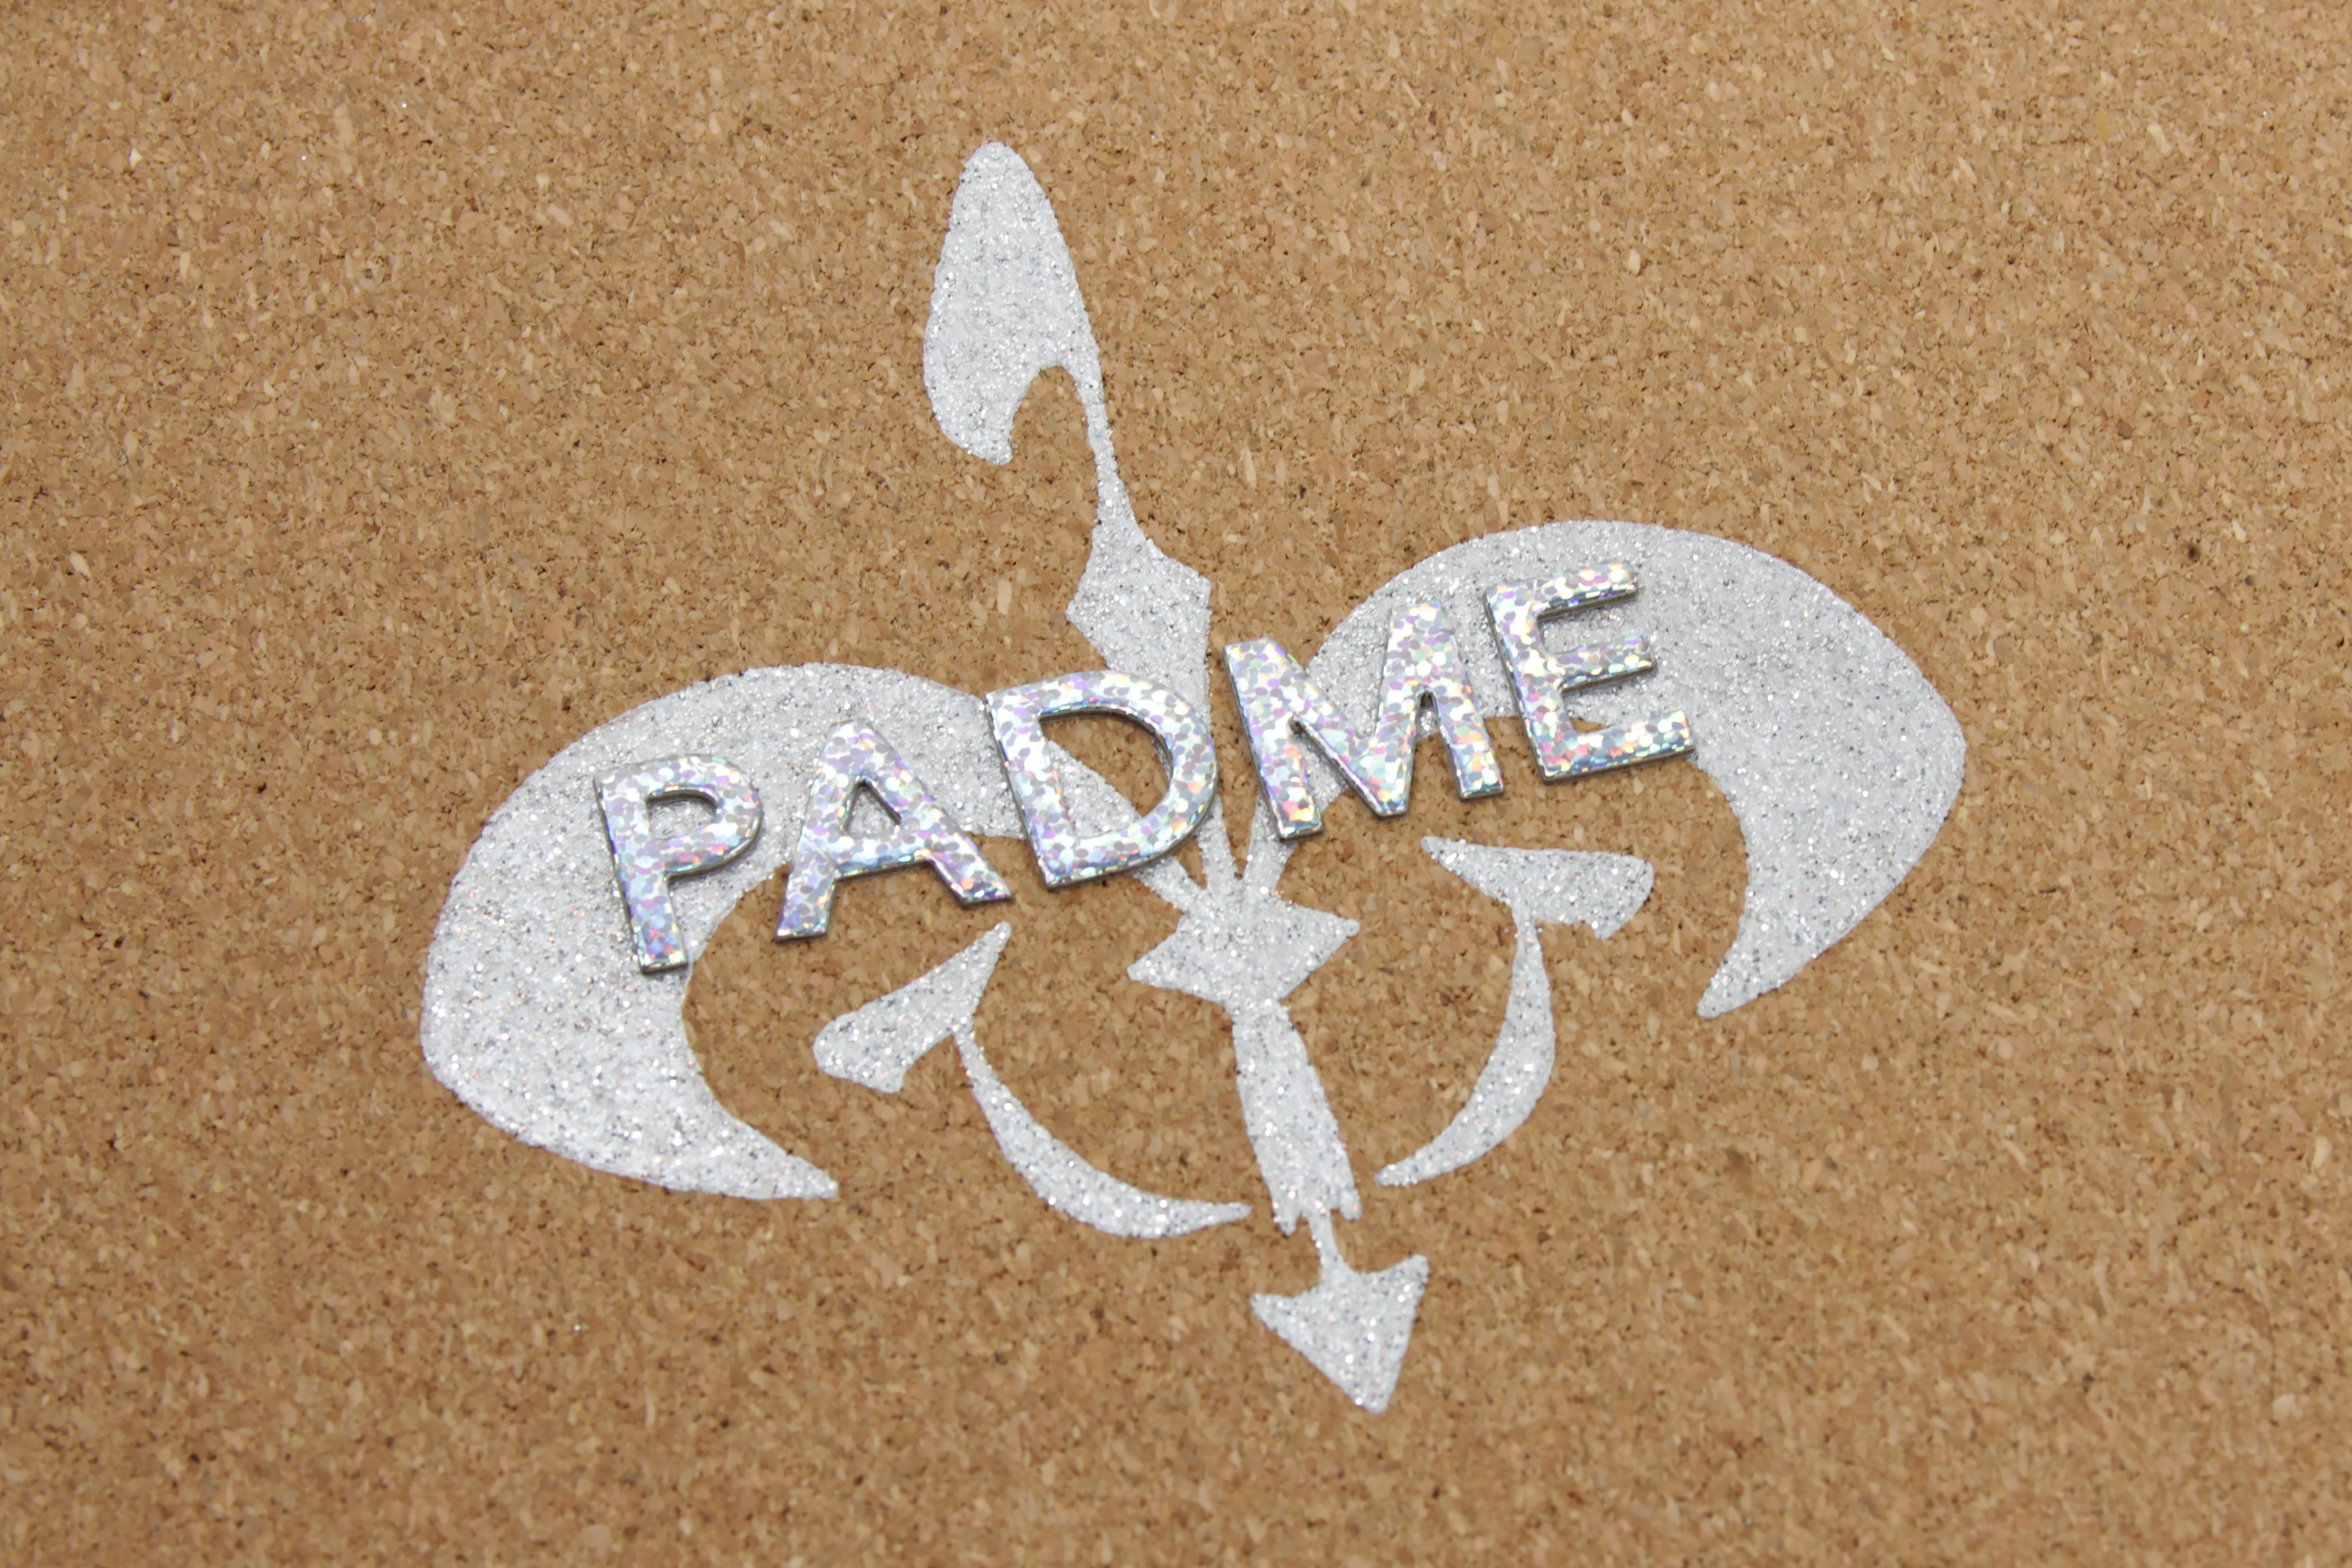
I wanted to place the letters on top of the largest sections of paint – I found that I liked the placement of the ‘Padme’ lettering slightly higher on the Naboo symbol, compared to ‘Leia’ and ‘Rey’ lettering placement on the Rebel symbol.
As I was really excited by how the painted symbols came out, I was a little unsure if I wanted to put stickers over top – but I’m so glad I went with my original idea! I like the mixed media effect, which really suits the ‘gathered materials’ style of inspiration boards. Plus the hologram finish is so pretty against the silver glitter symbols!
Next up – the print outs. I really enjoyed creating the printed elements for my inspiration boards. I had a general idea of the layout I wanted, which included the same number of elements for each each character board –
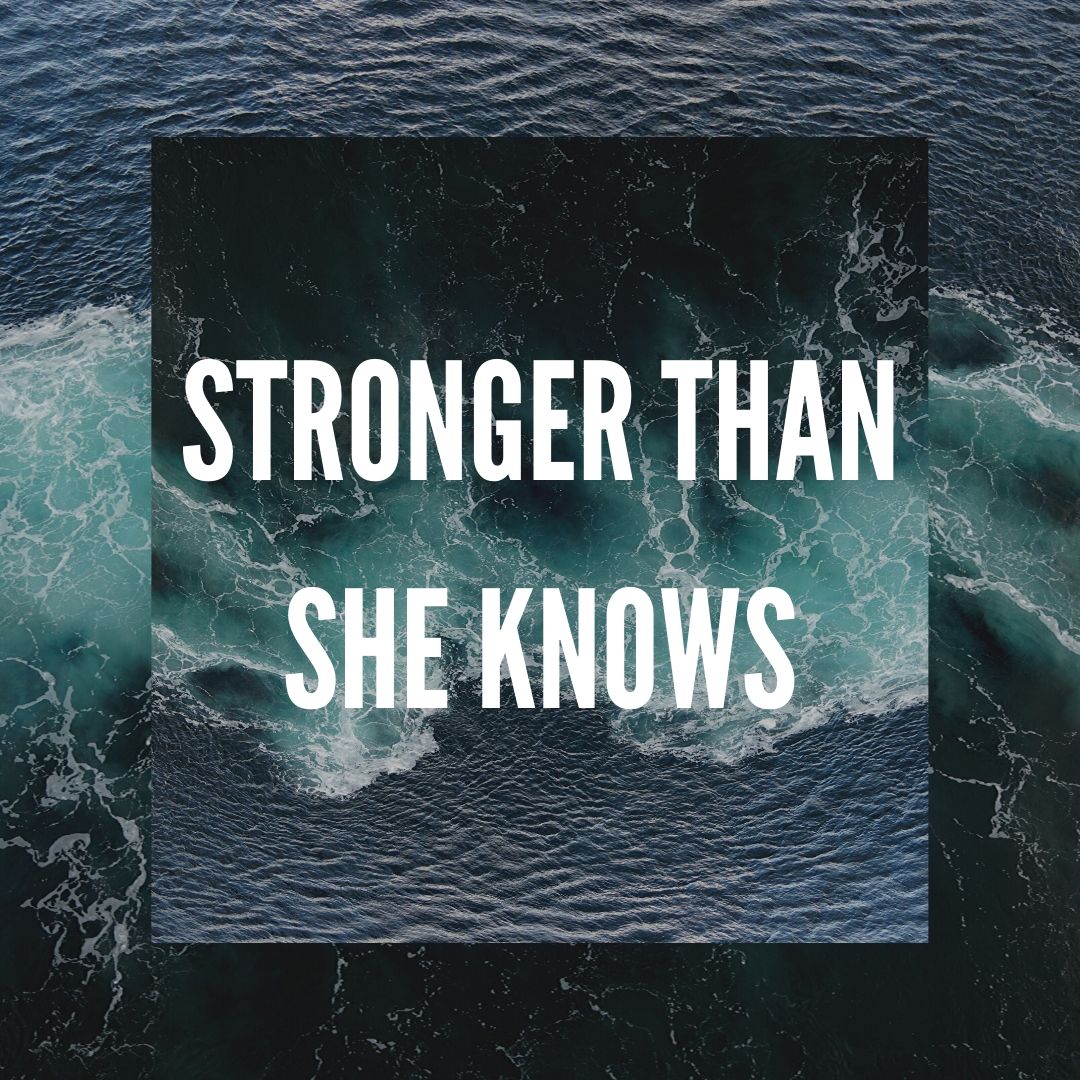
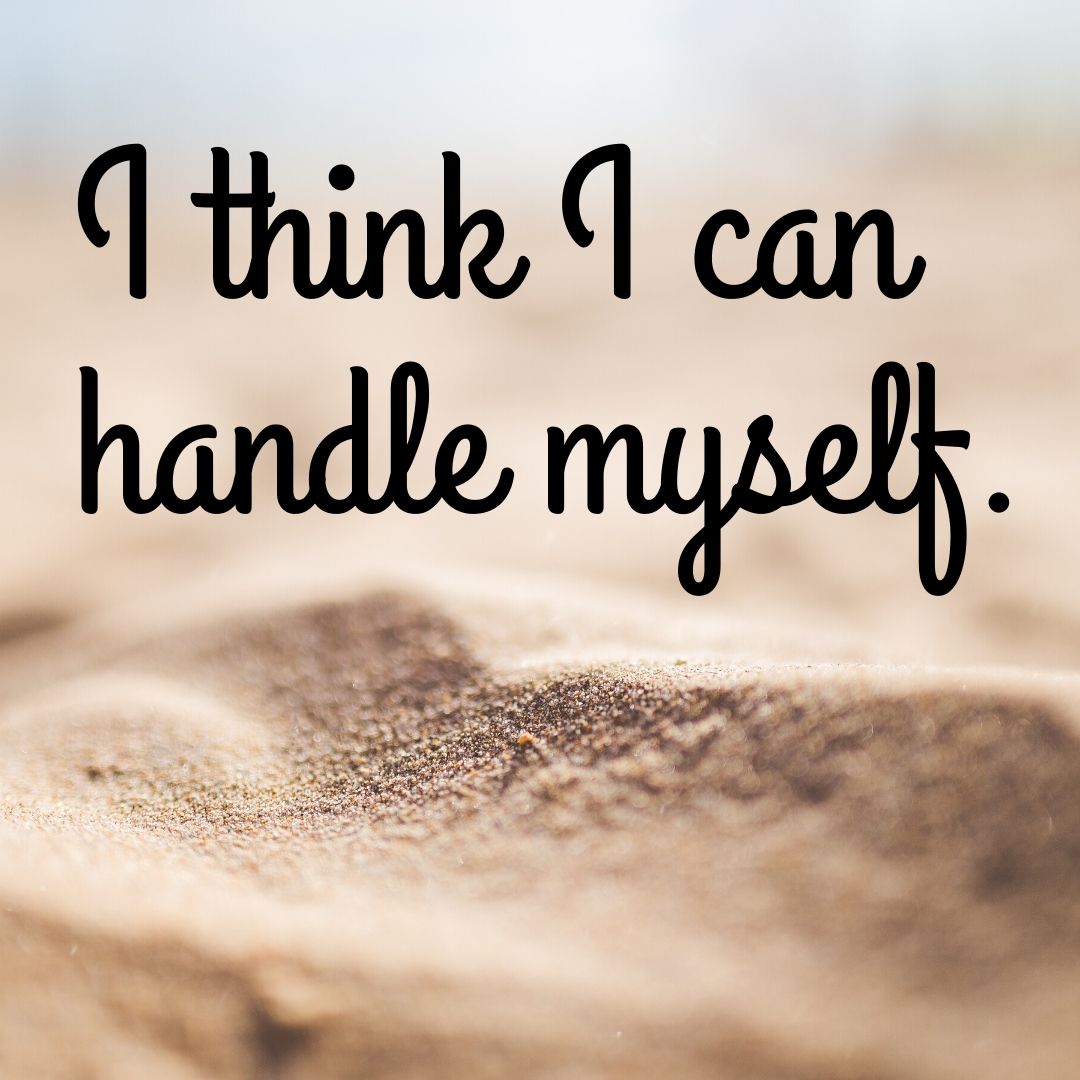
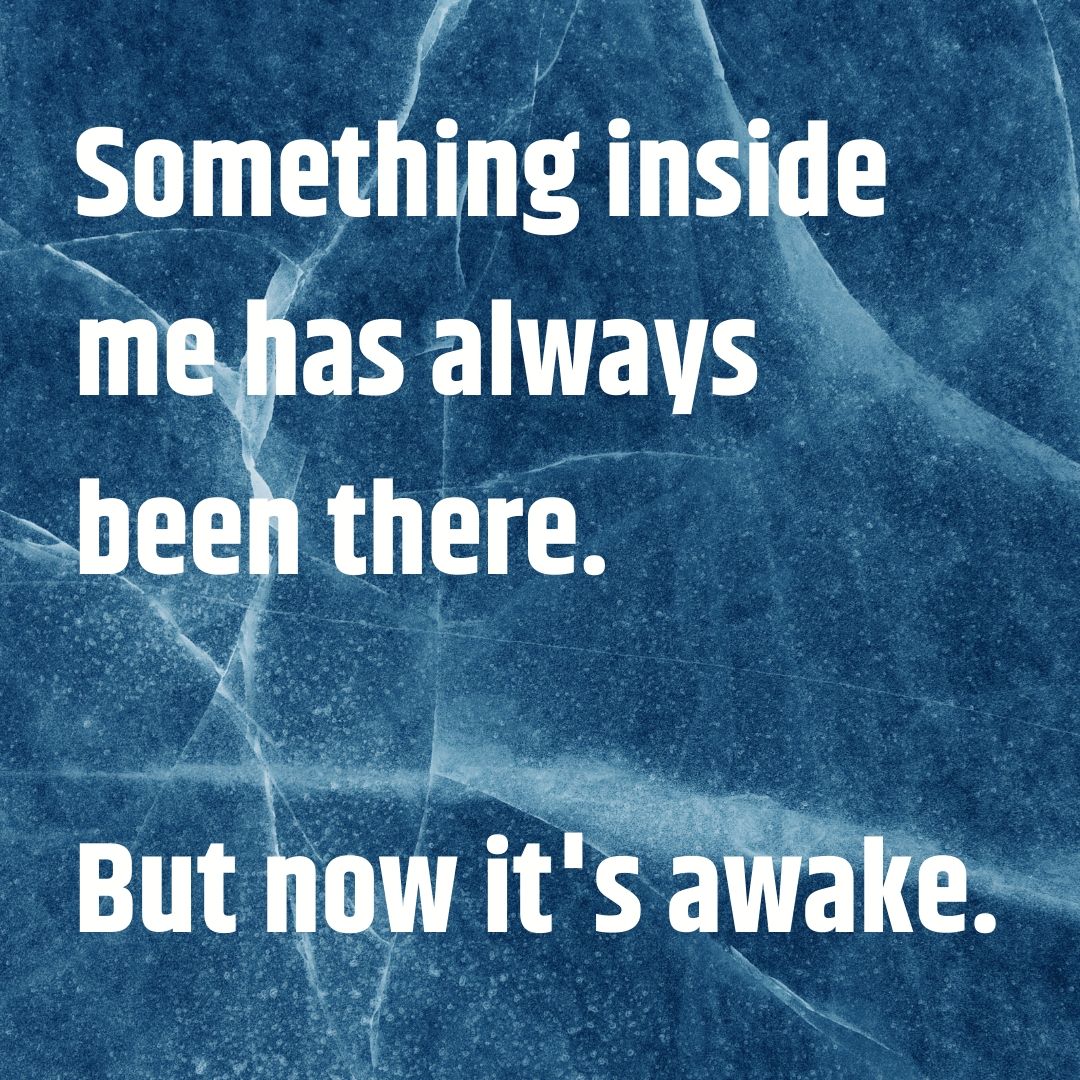
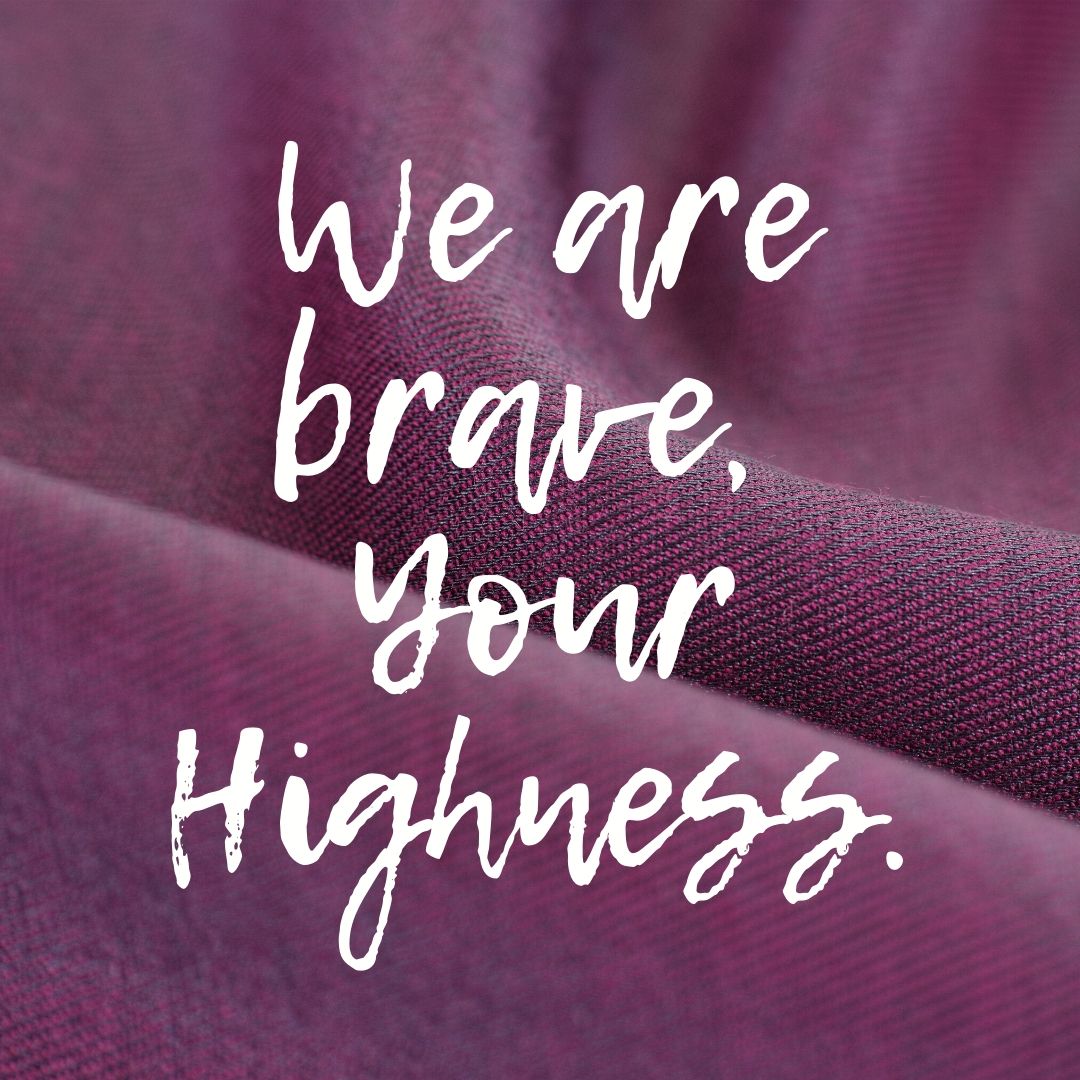
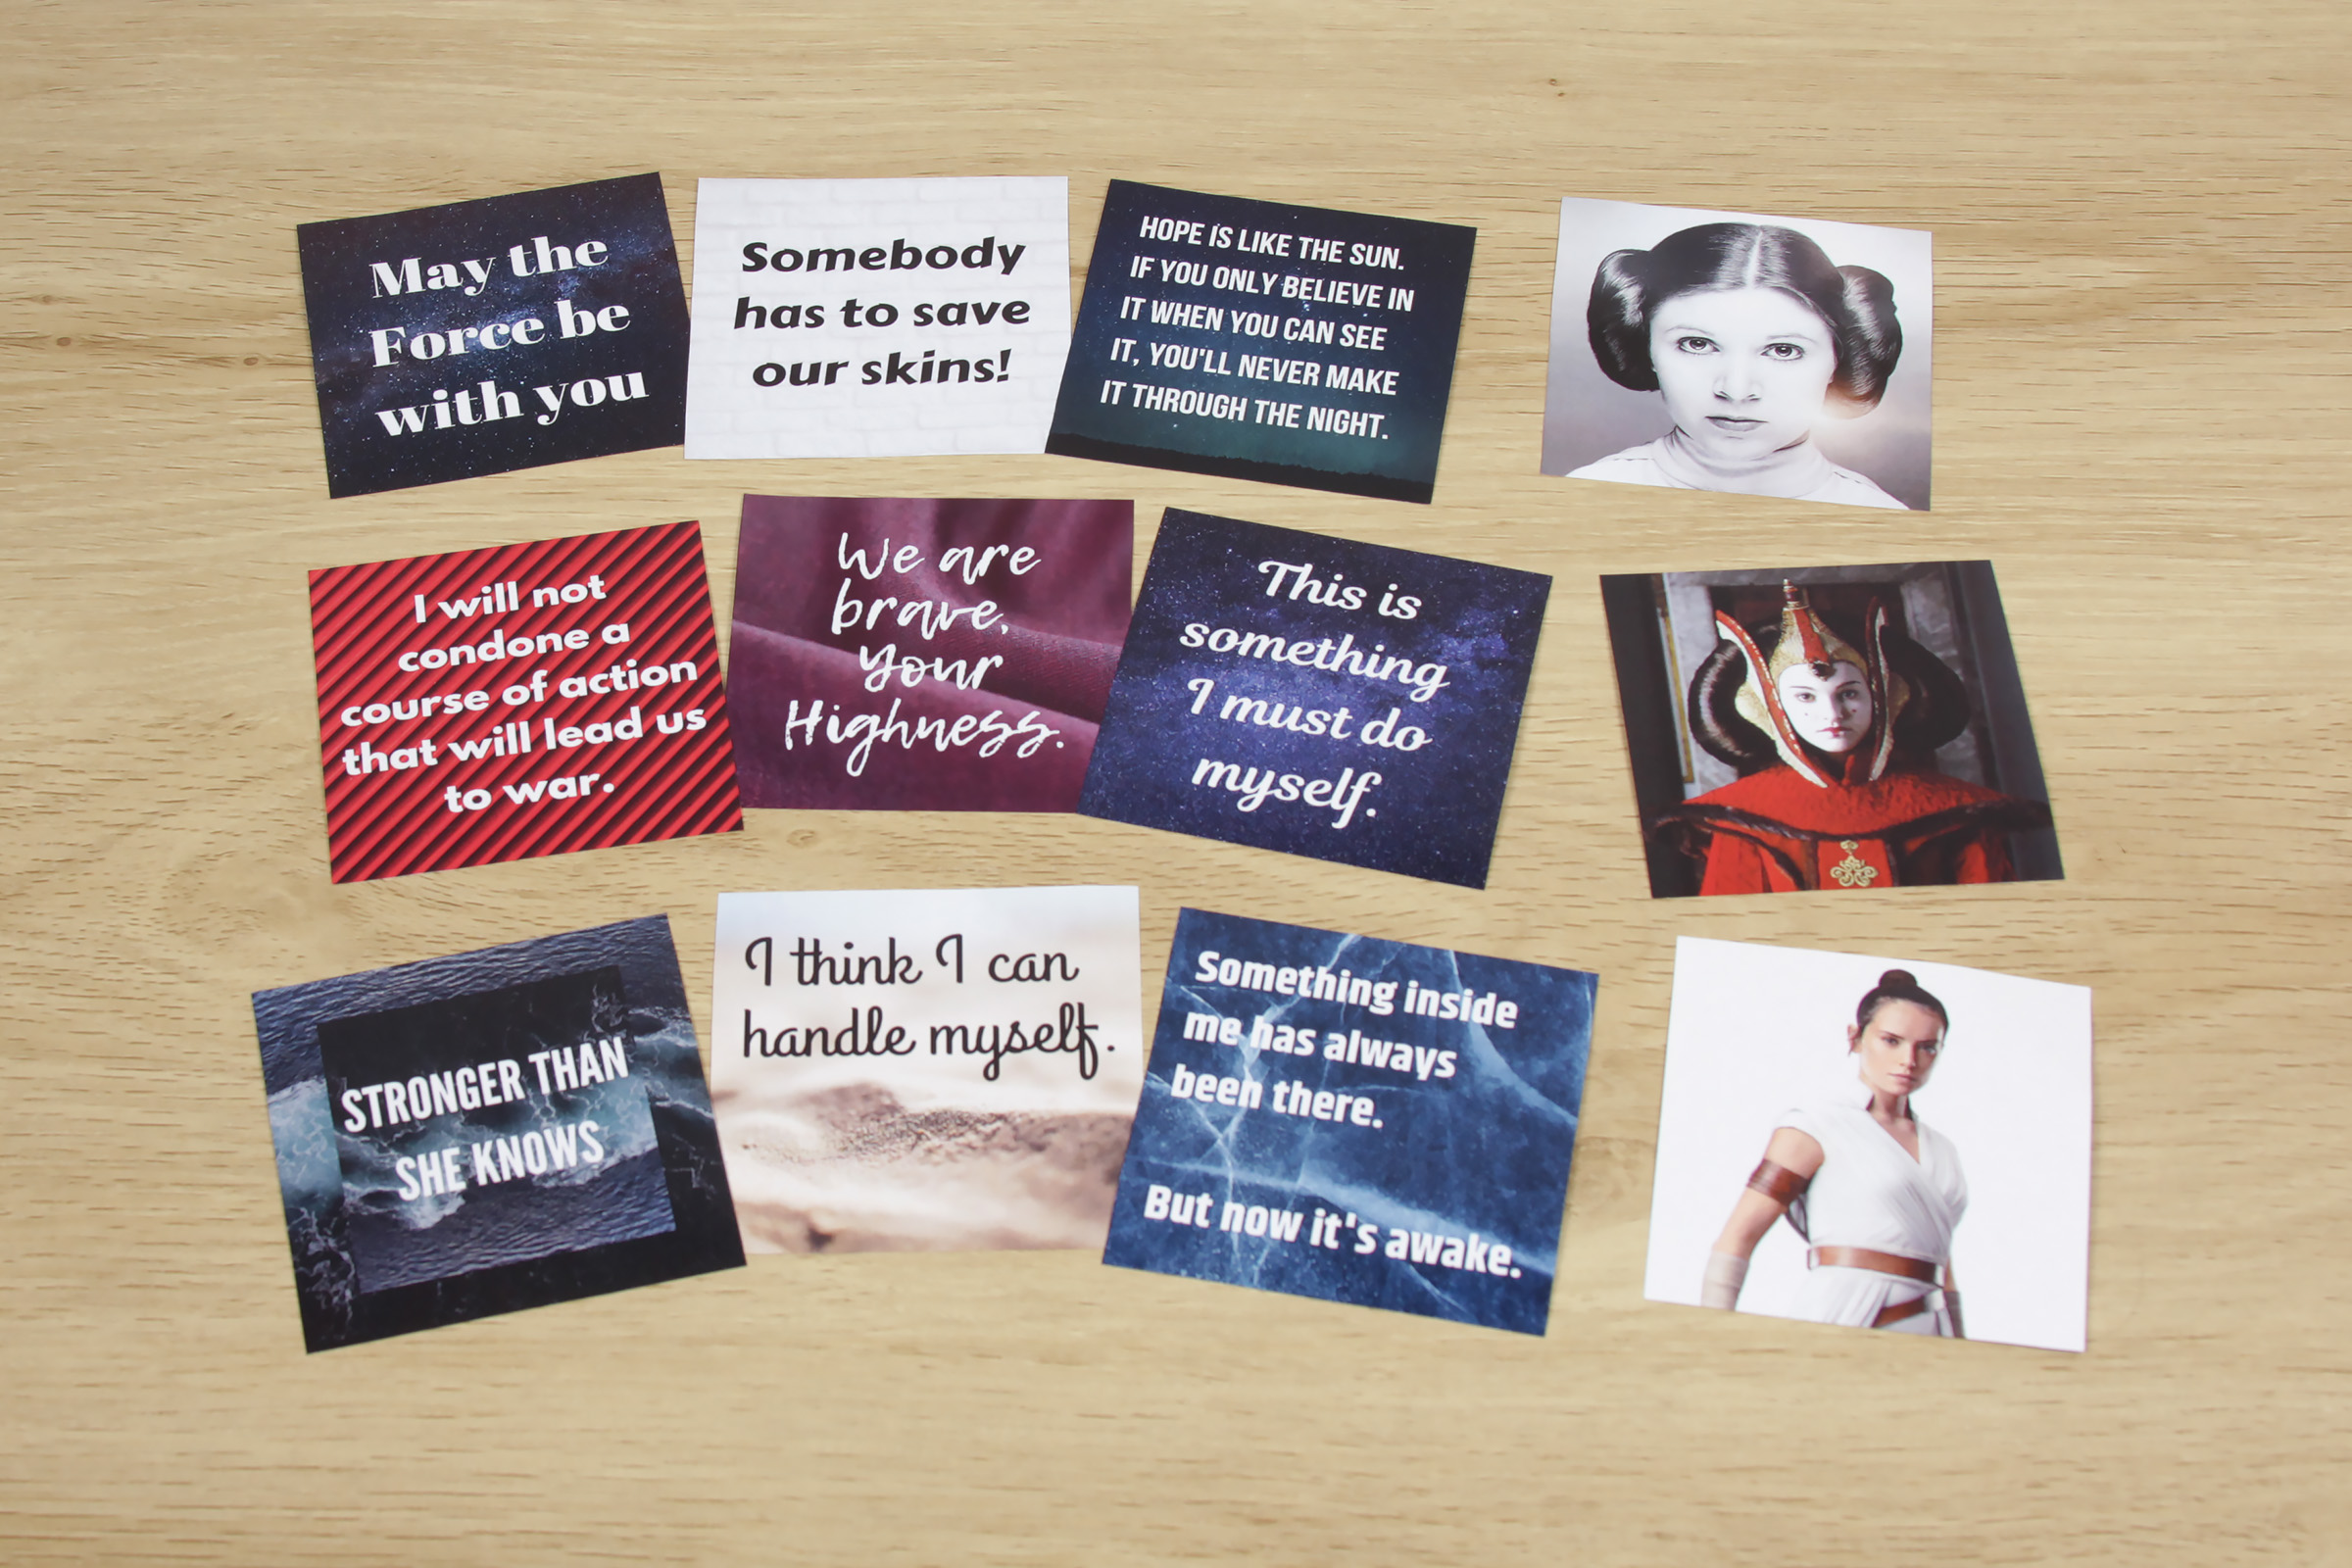
- Three quotes on square designs
- One printed character photo (square)
- Three associated words
- Two small circular symbols
I spent quite a while really thinking about what inspires me most about each character. The idea behind these inspiration boards is that they will be hung on the wall where I will see them everyday, to remind me of what I love about each character, so I felt it was important to find words, symbols, and quotes that personally mean a lot to me.
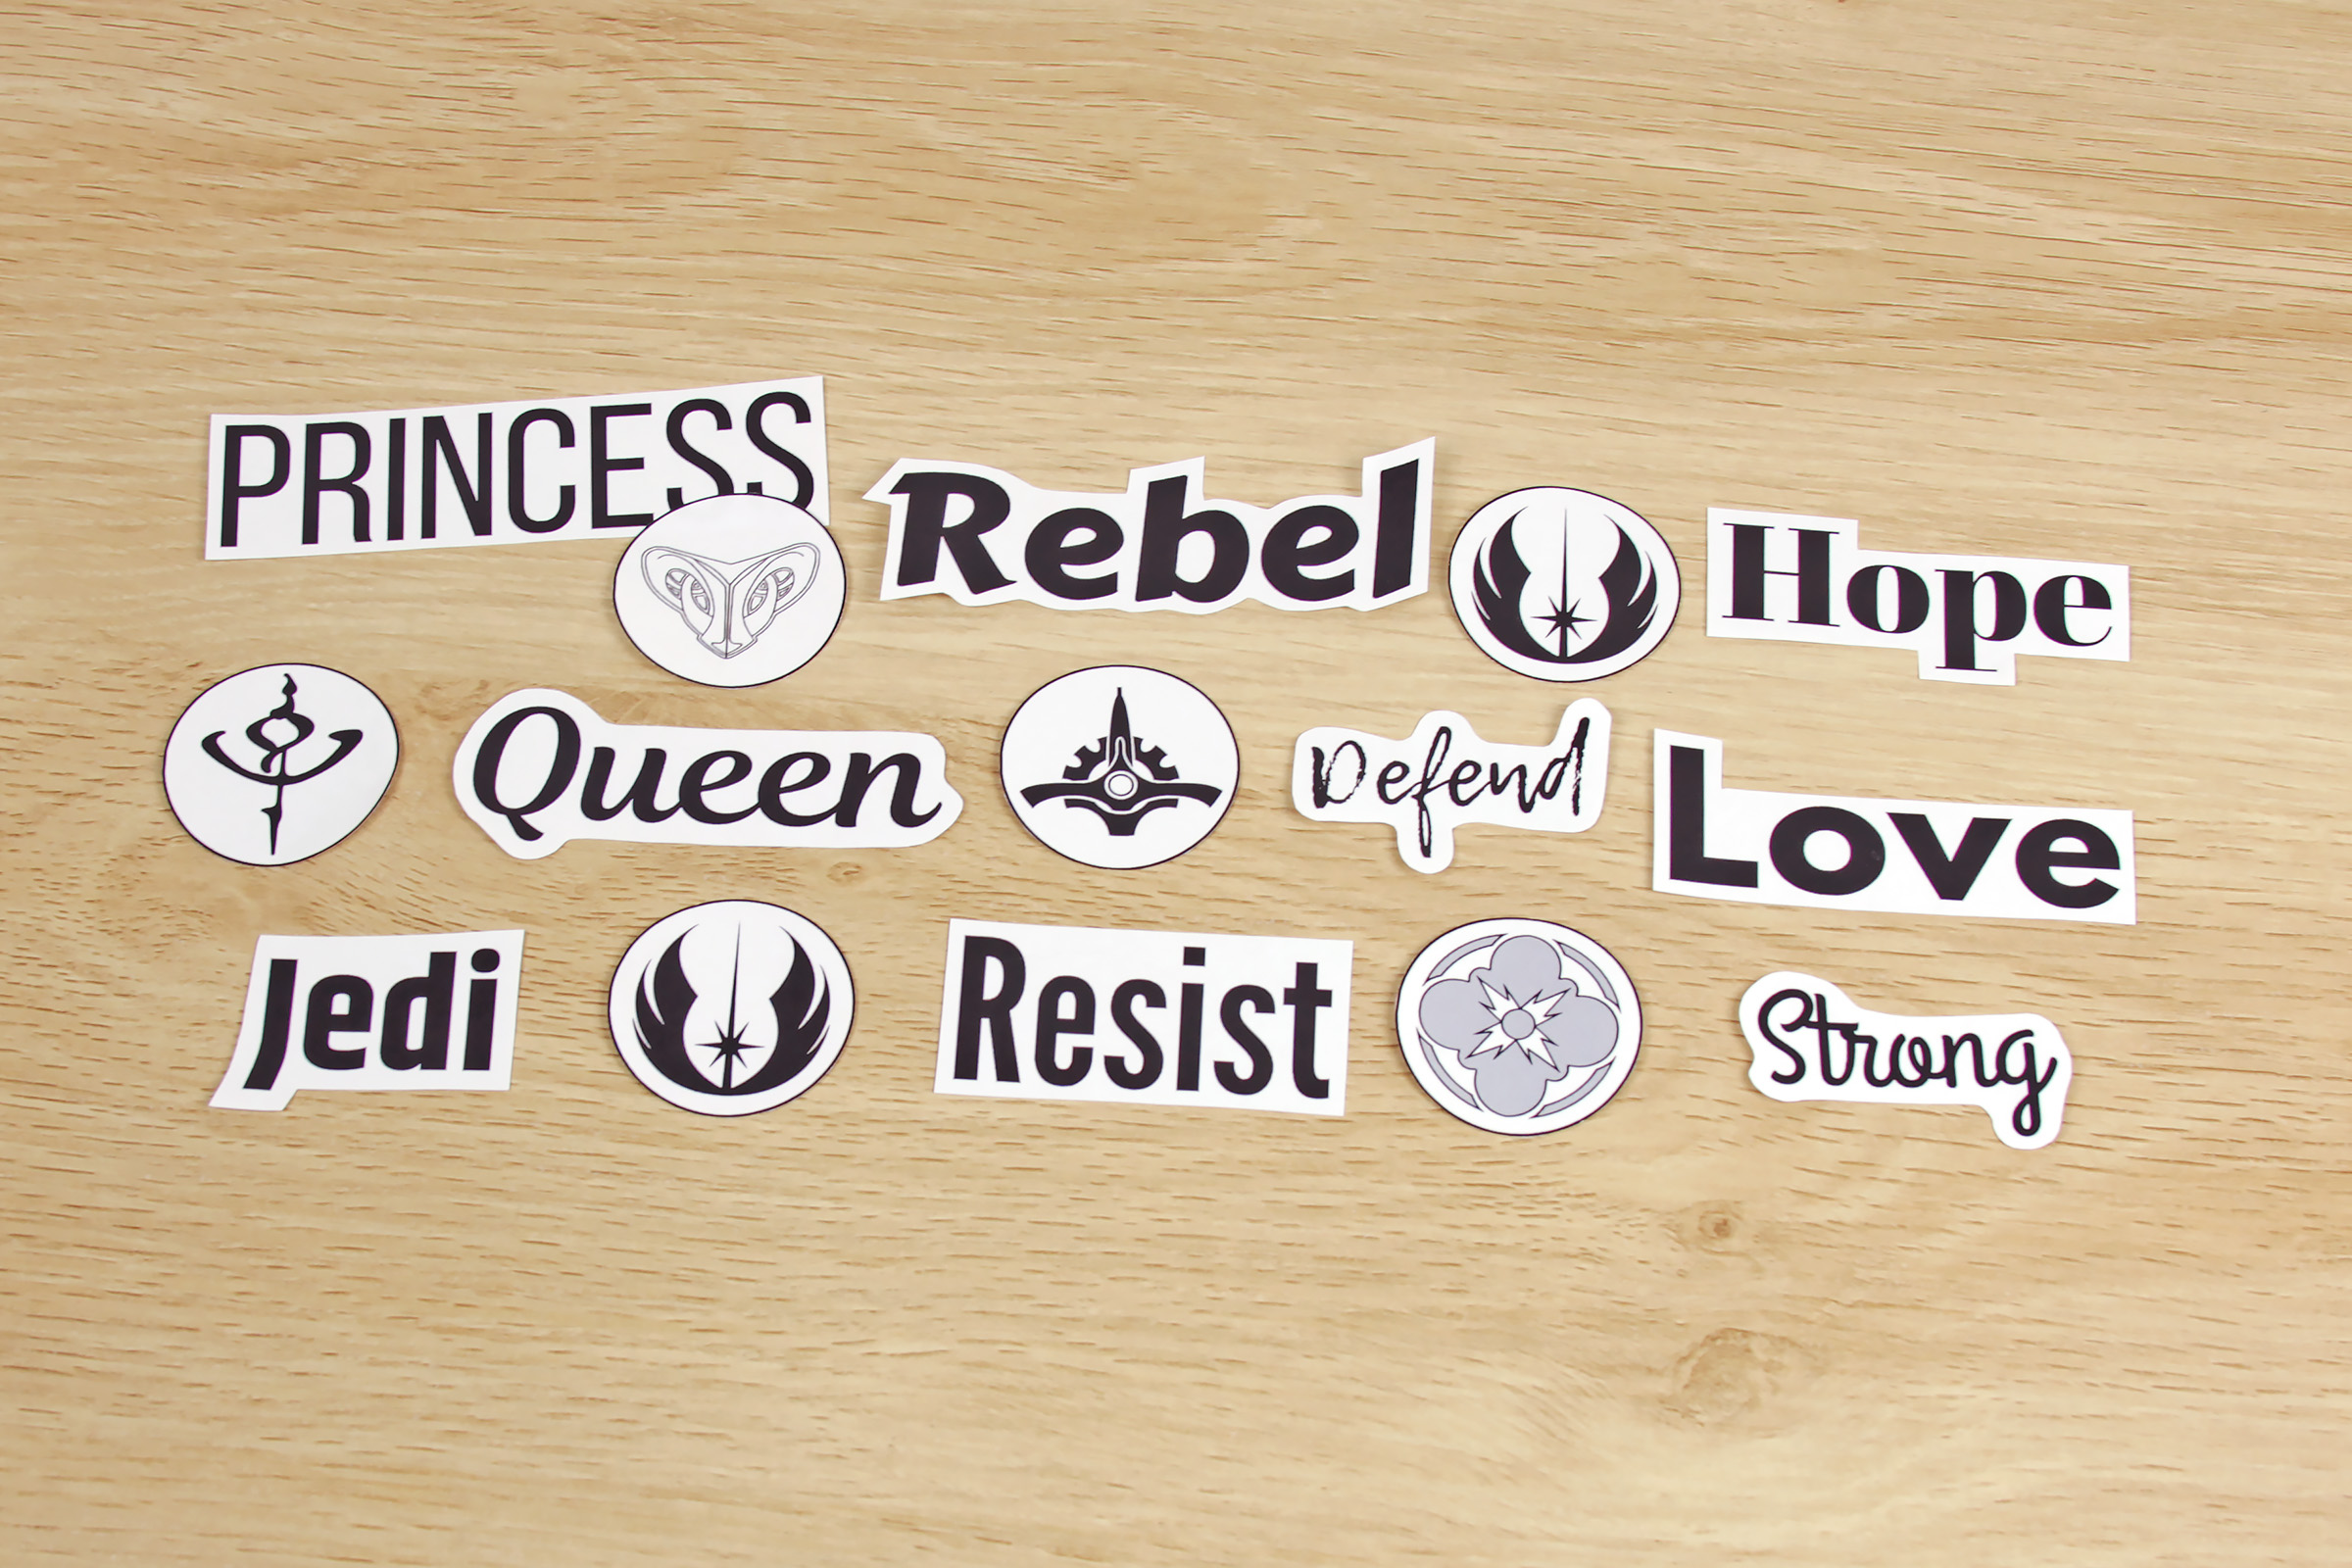
Defining words –
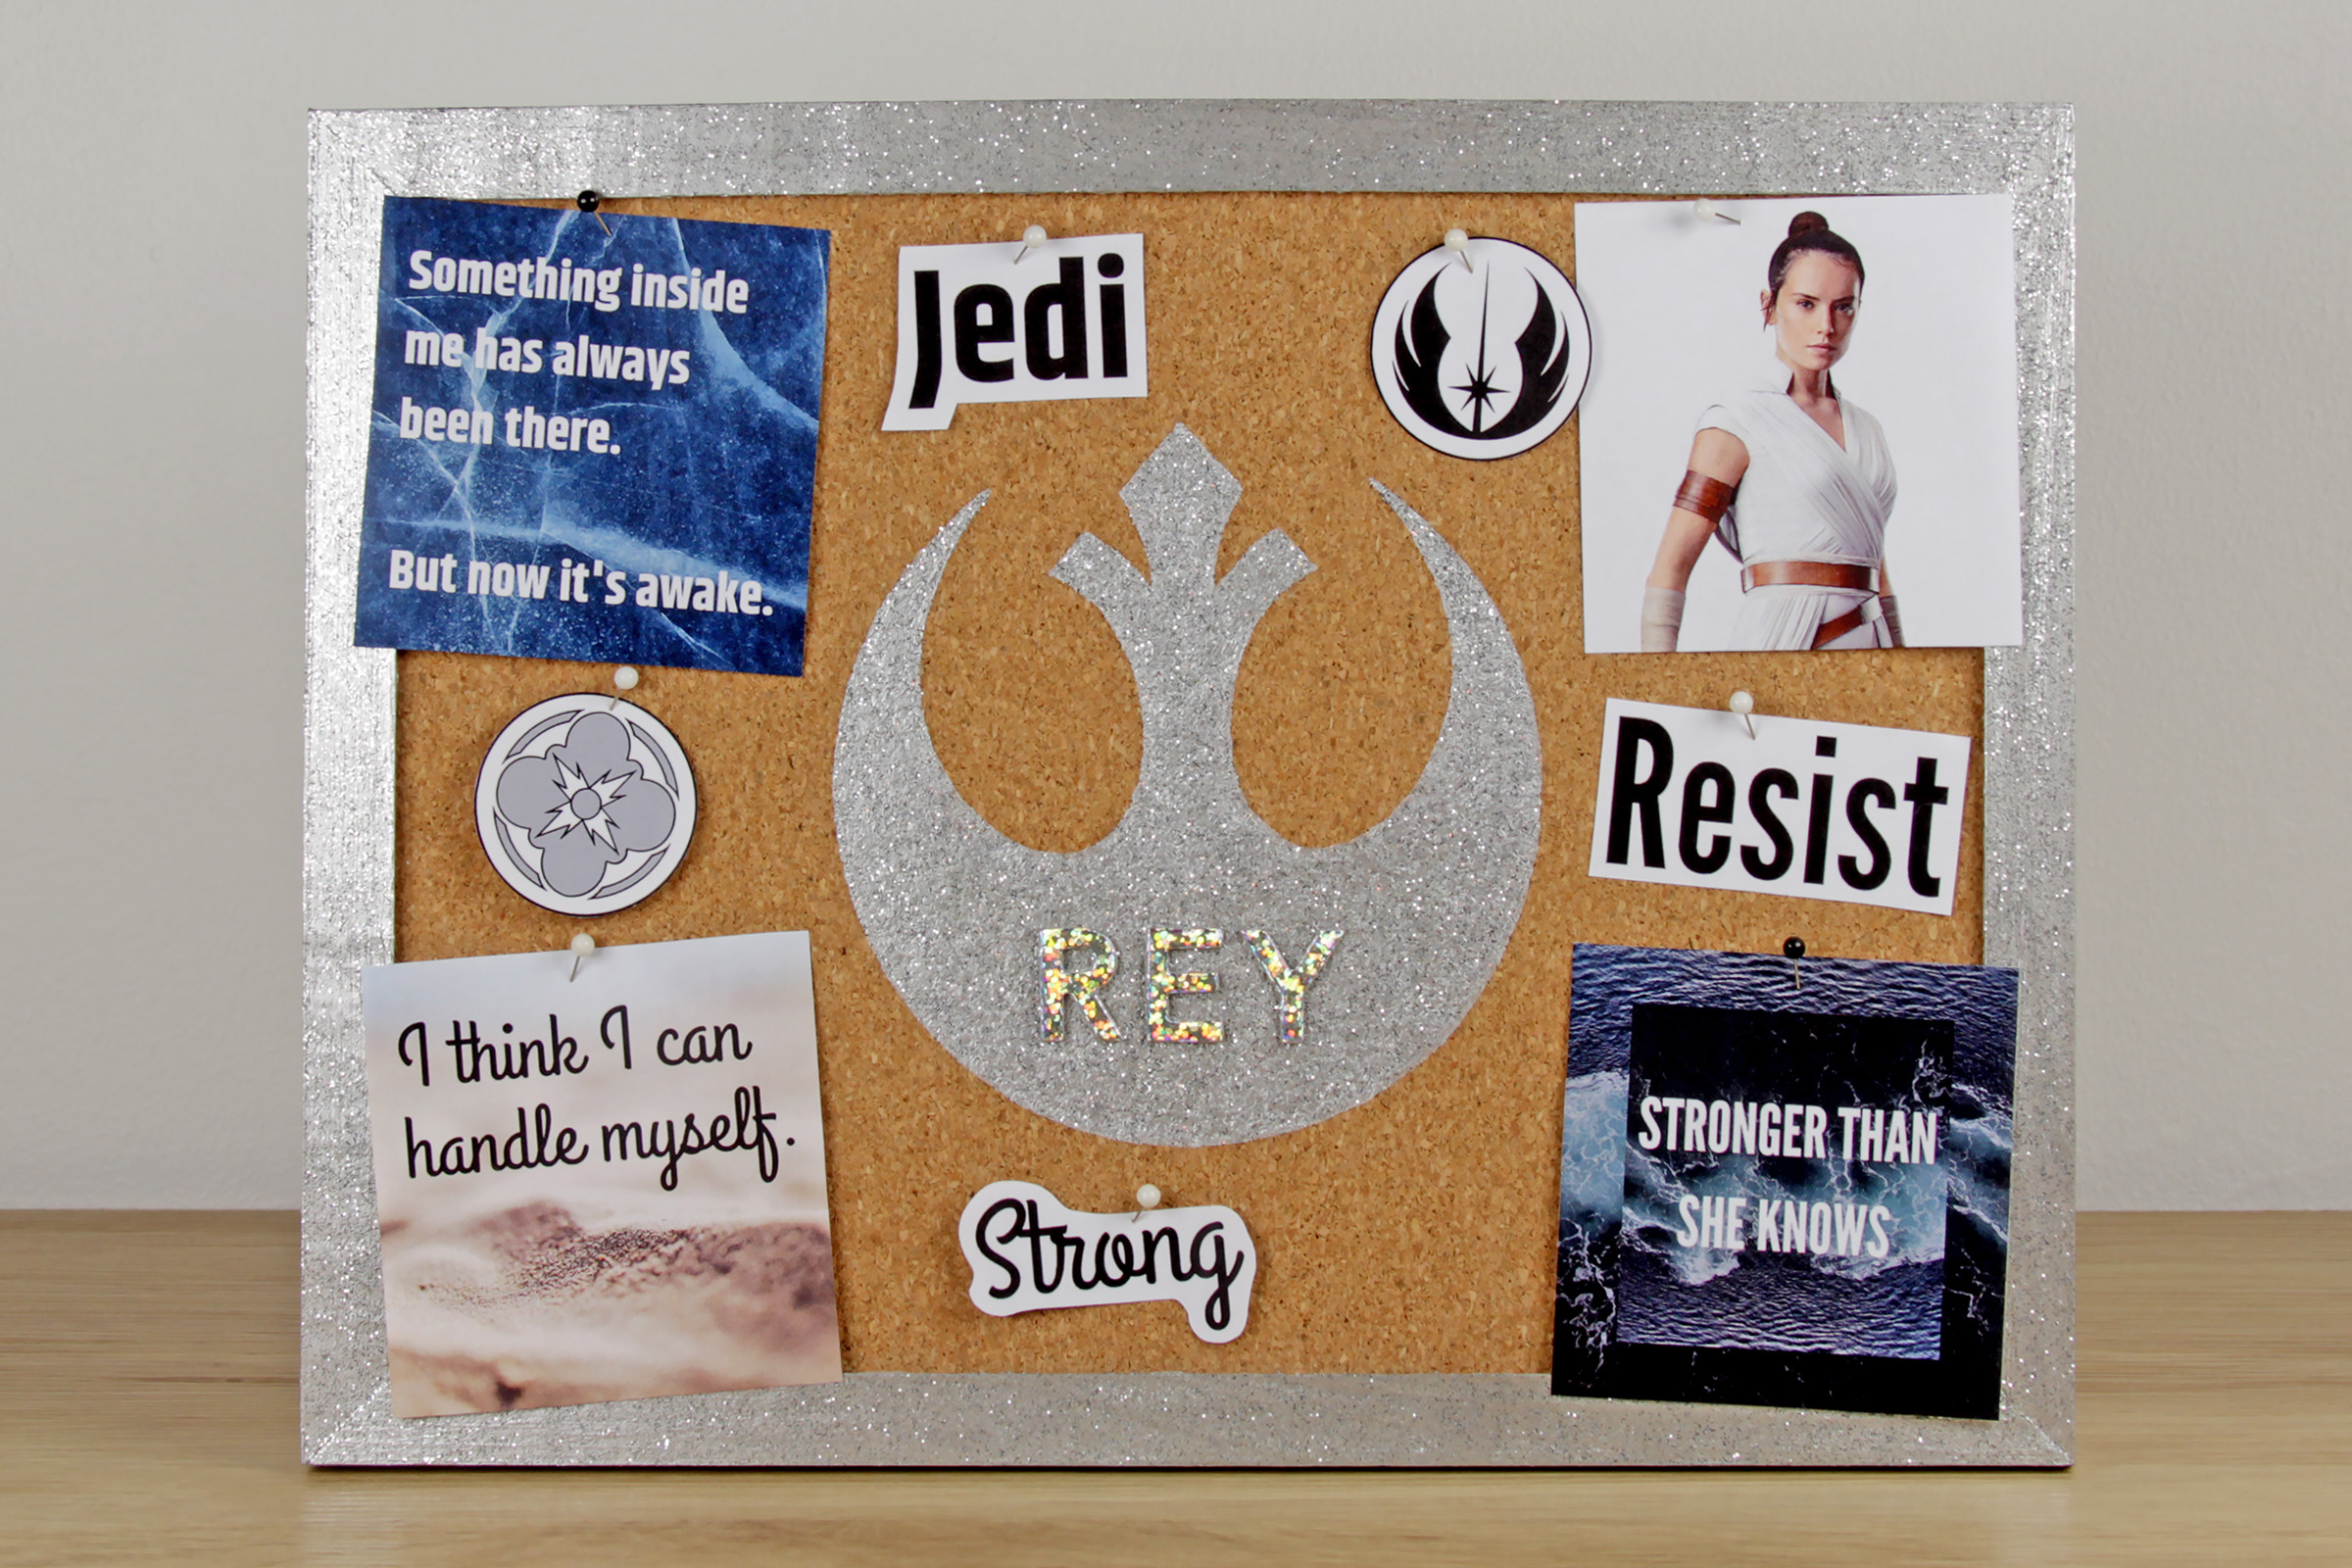
- Rey – Jedi, Strong, Resist
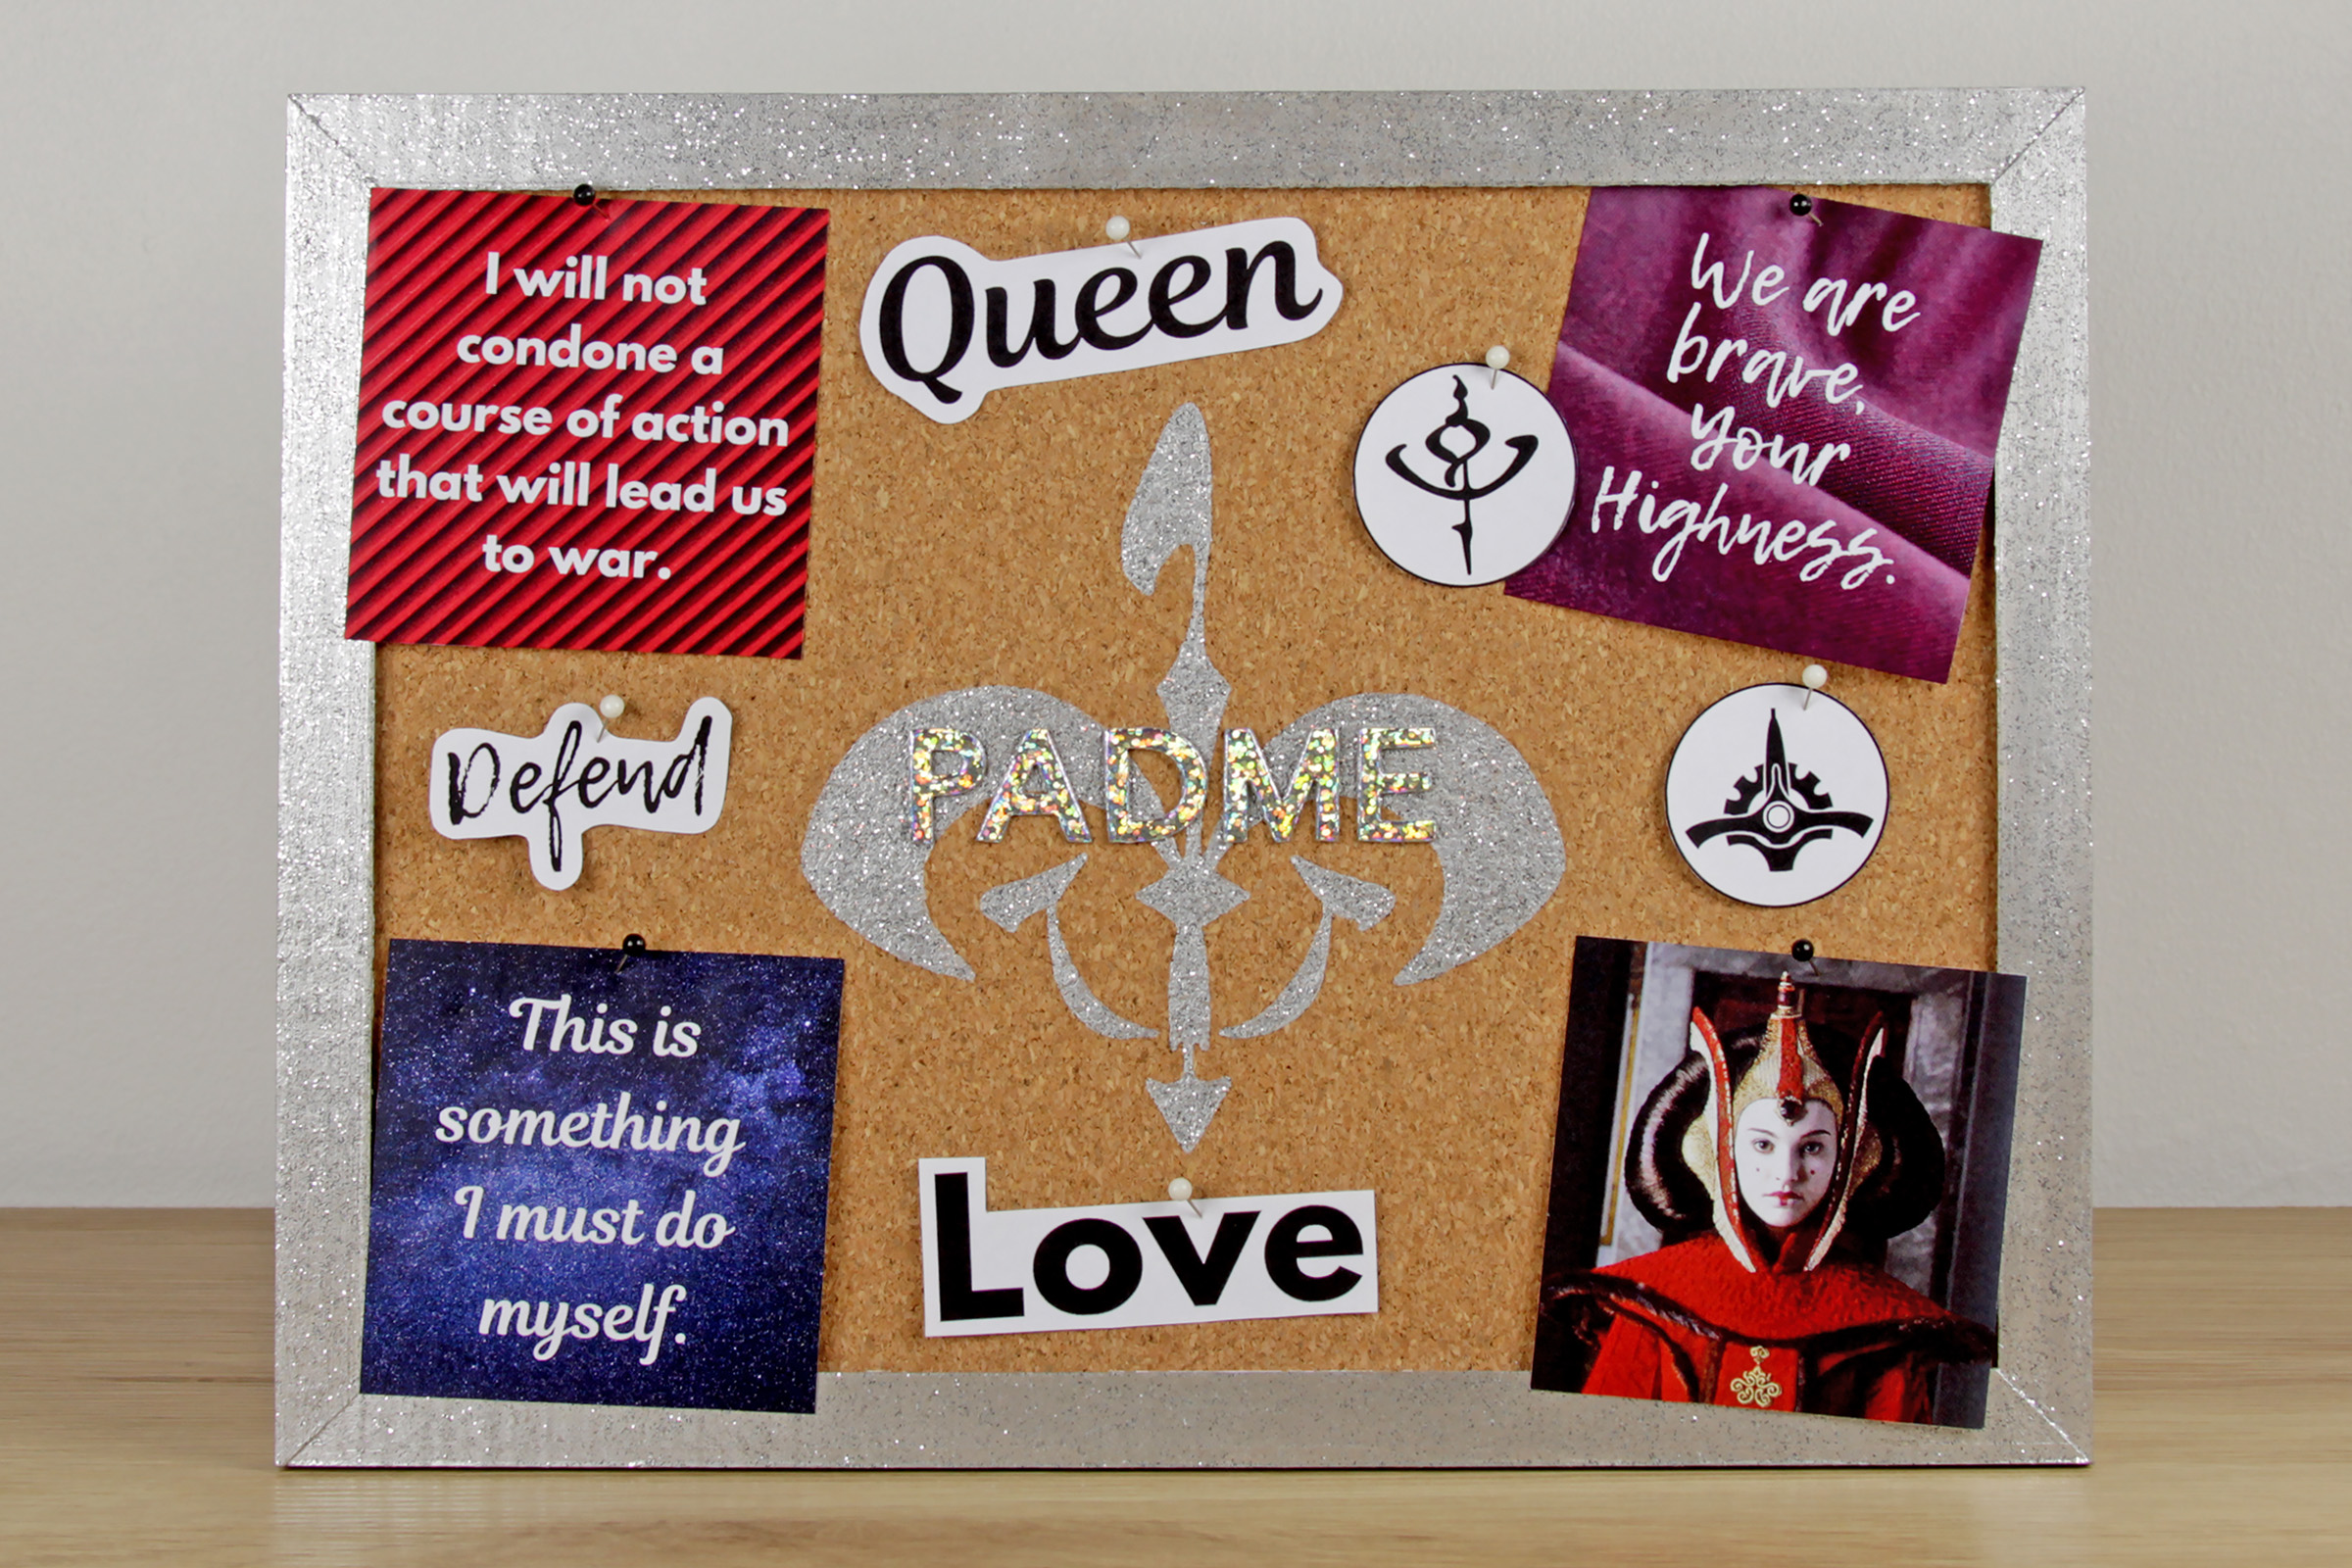
- Padme’ – Queen, Love, Defend
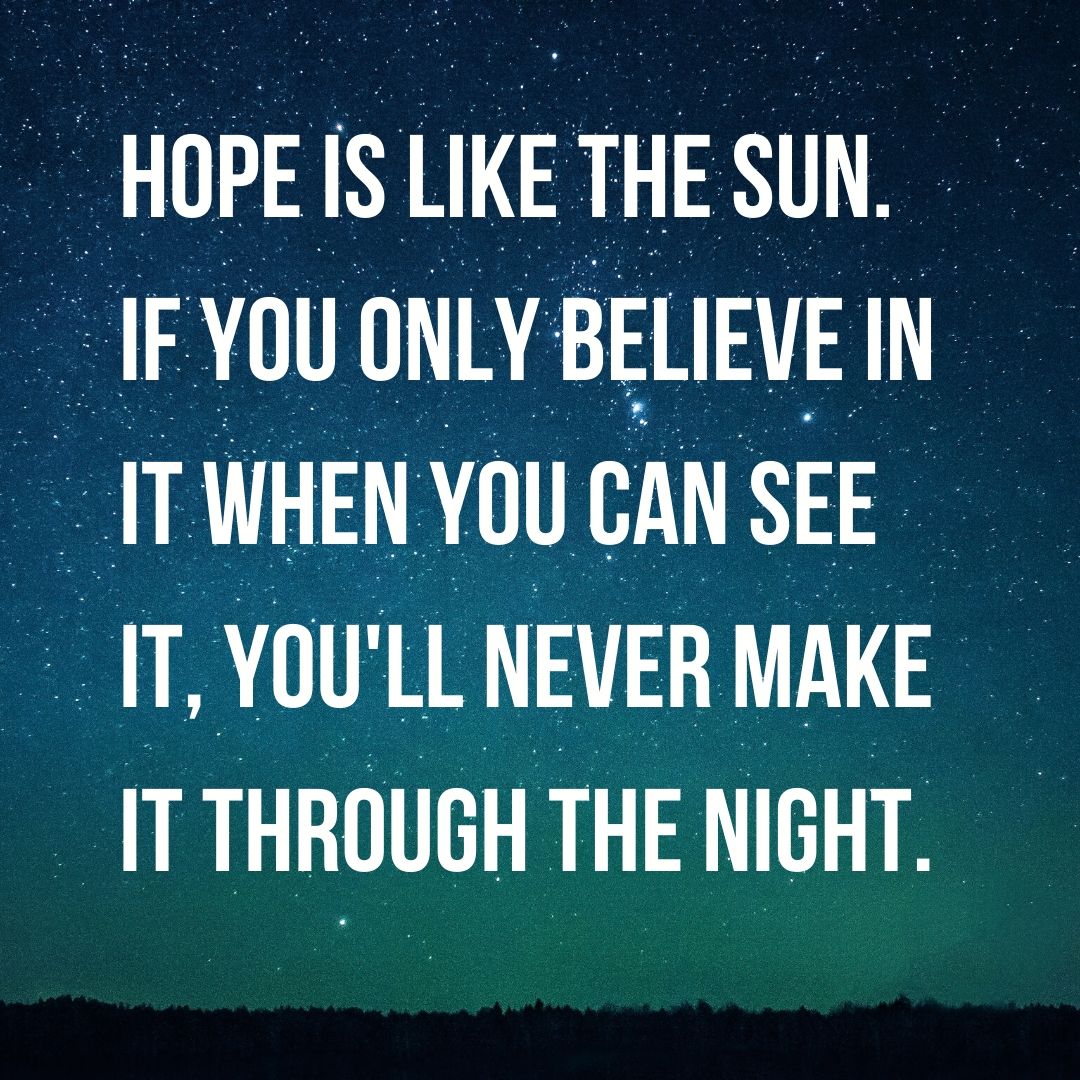
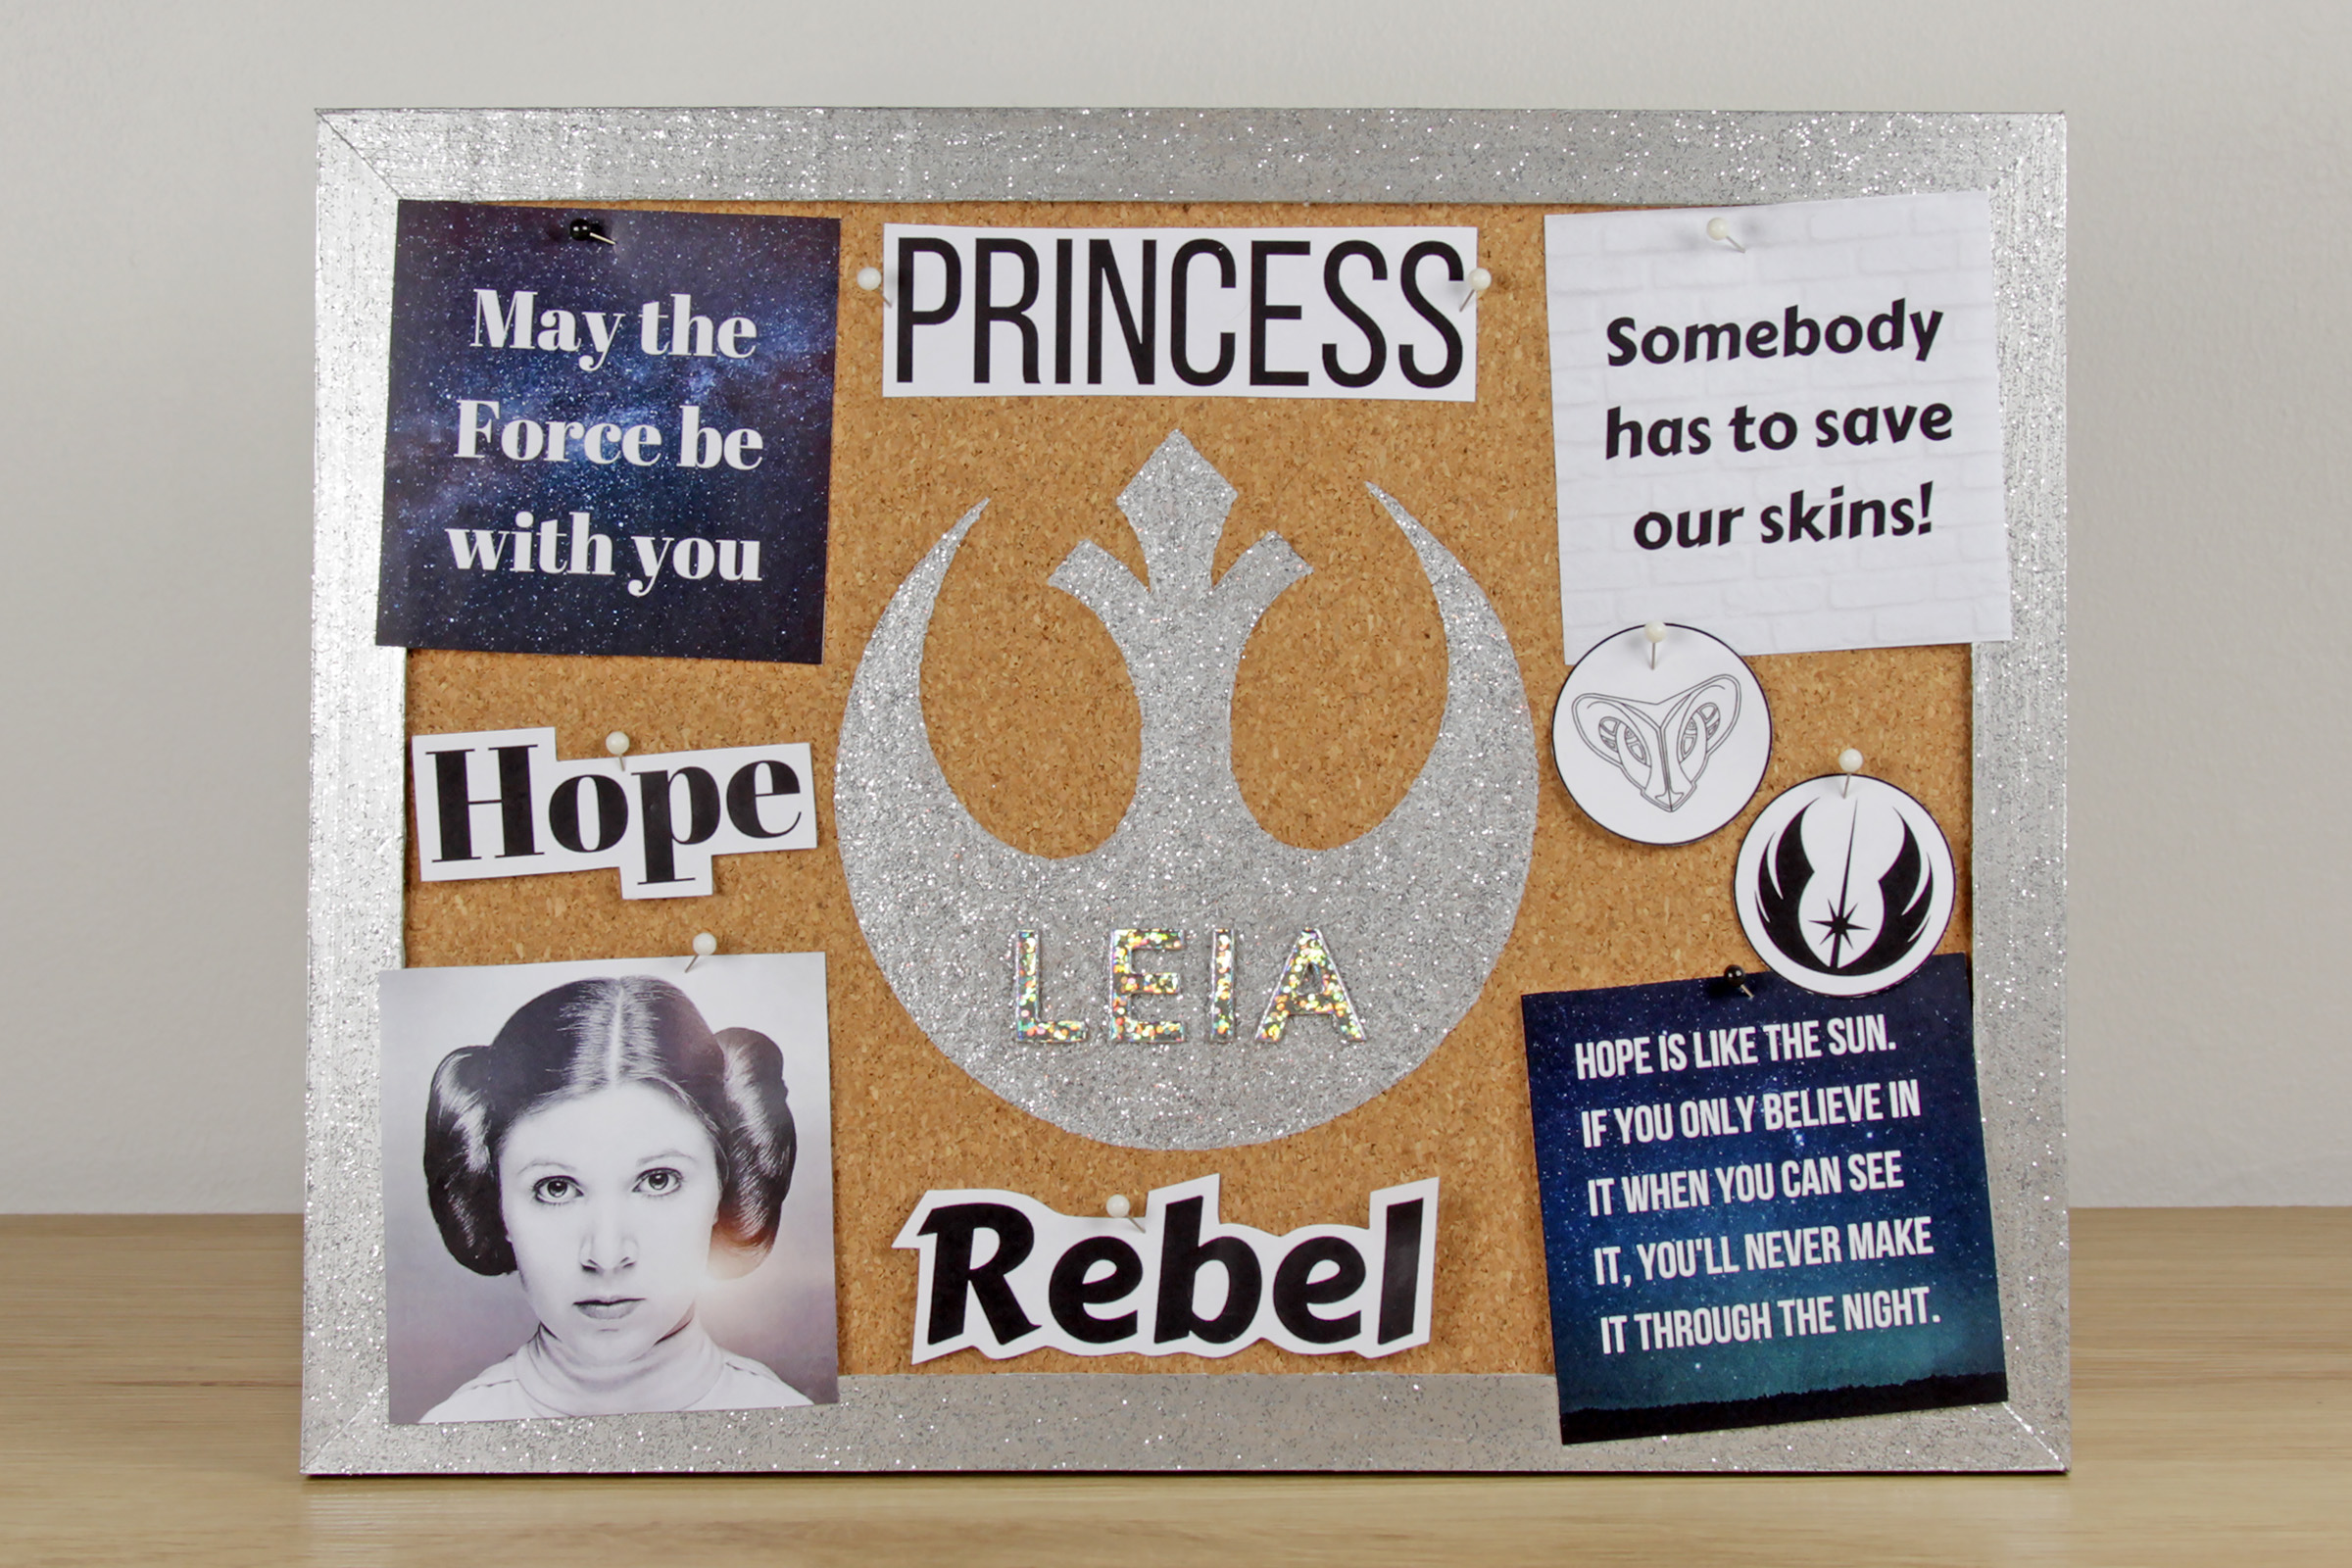
- Leia – Princess, Hope, Rebel
Symbols –
- Rey – Jedi Order symbol, Force ‘Light Side’ symbol
- Padme’ – Naboo royal emblem, Republic Senate symbol
- Leia – Organa crest symbol, Jedi Order symbol
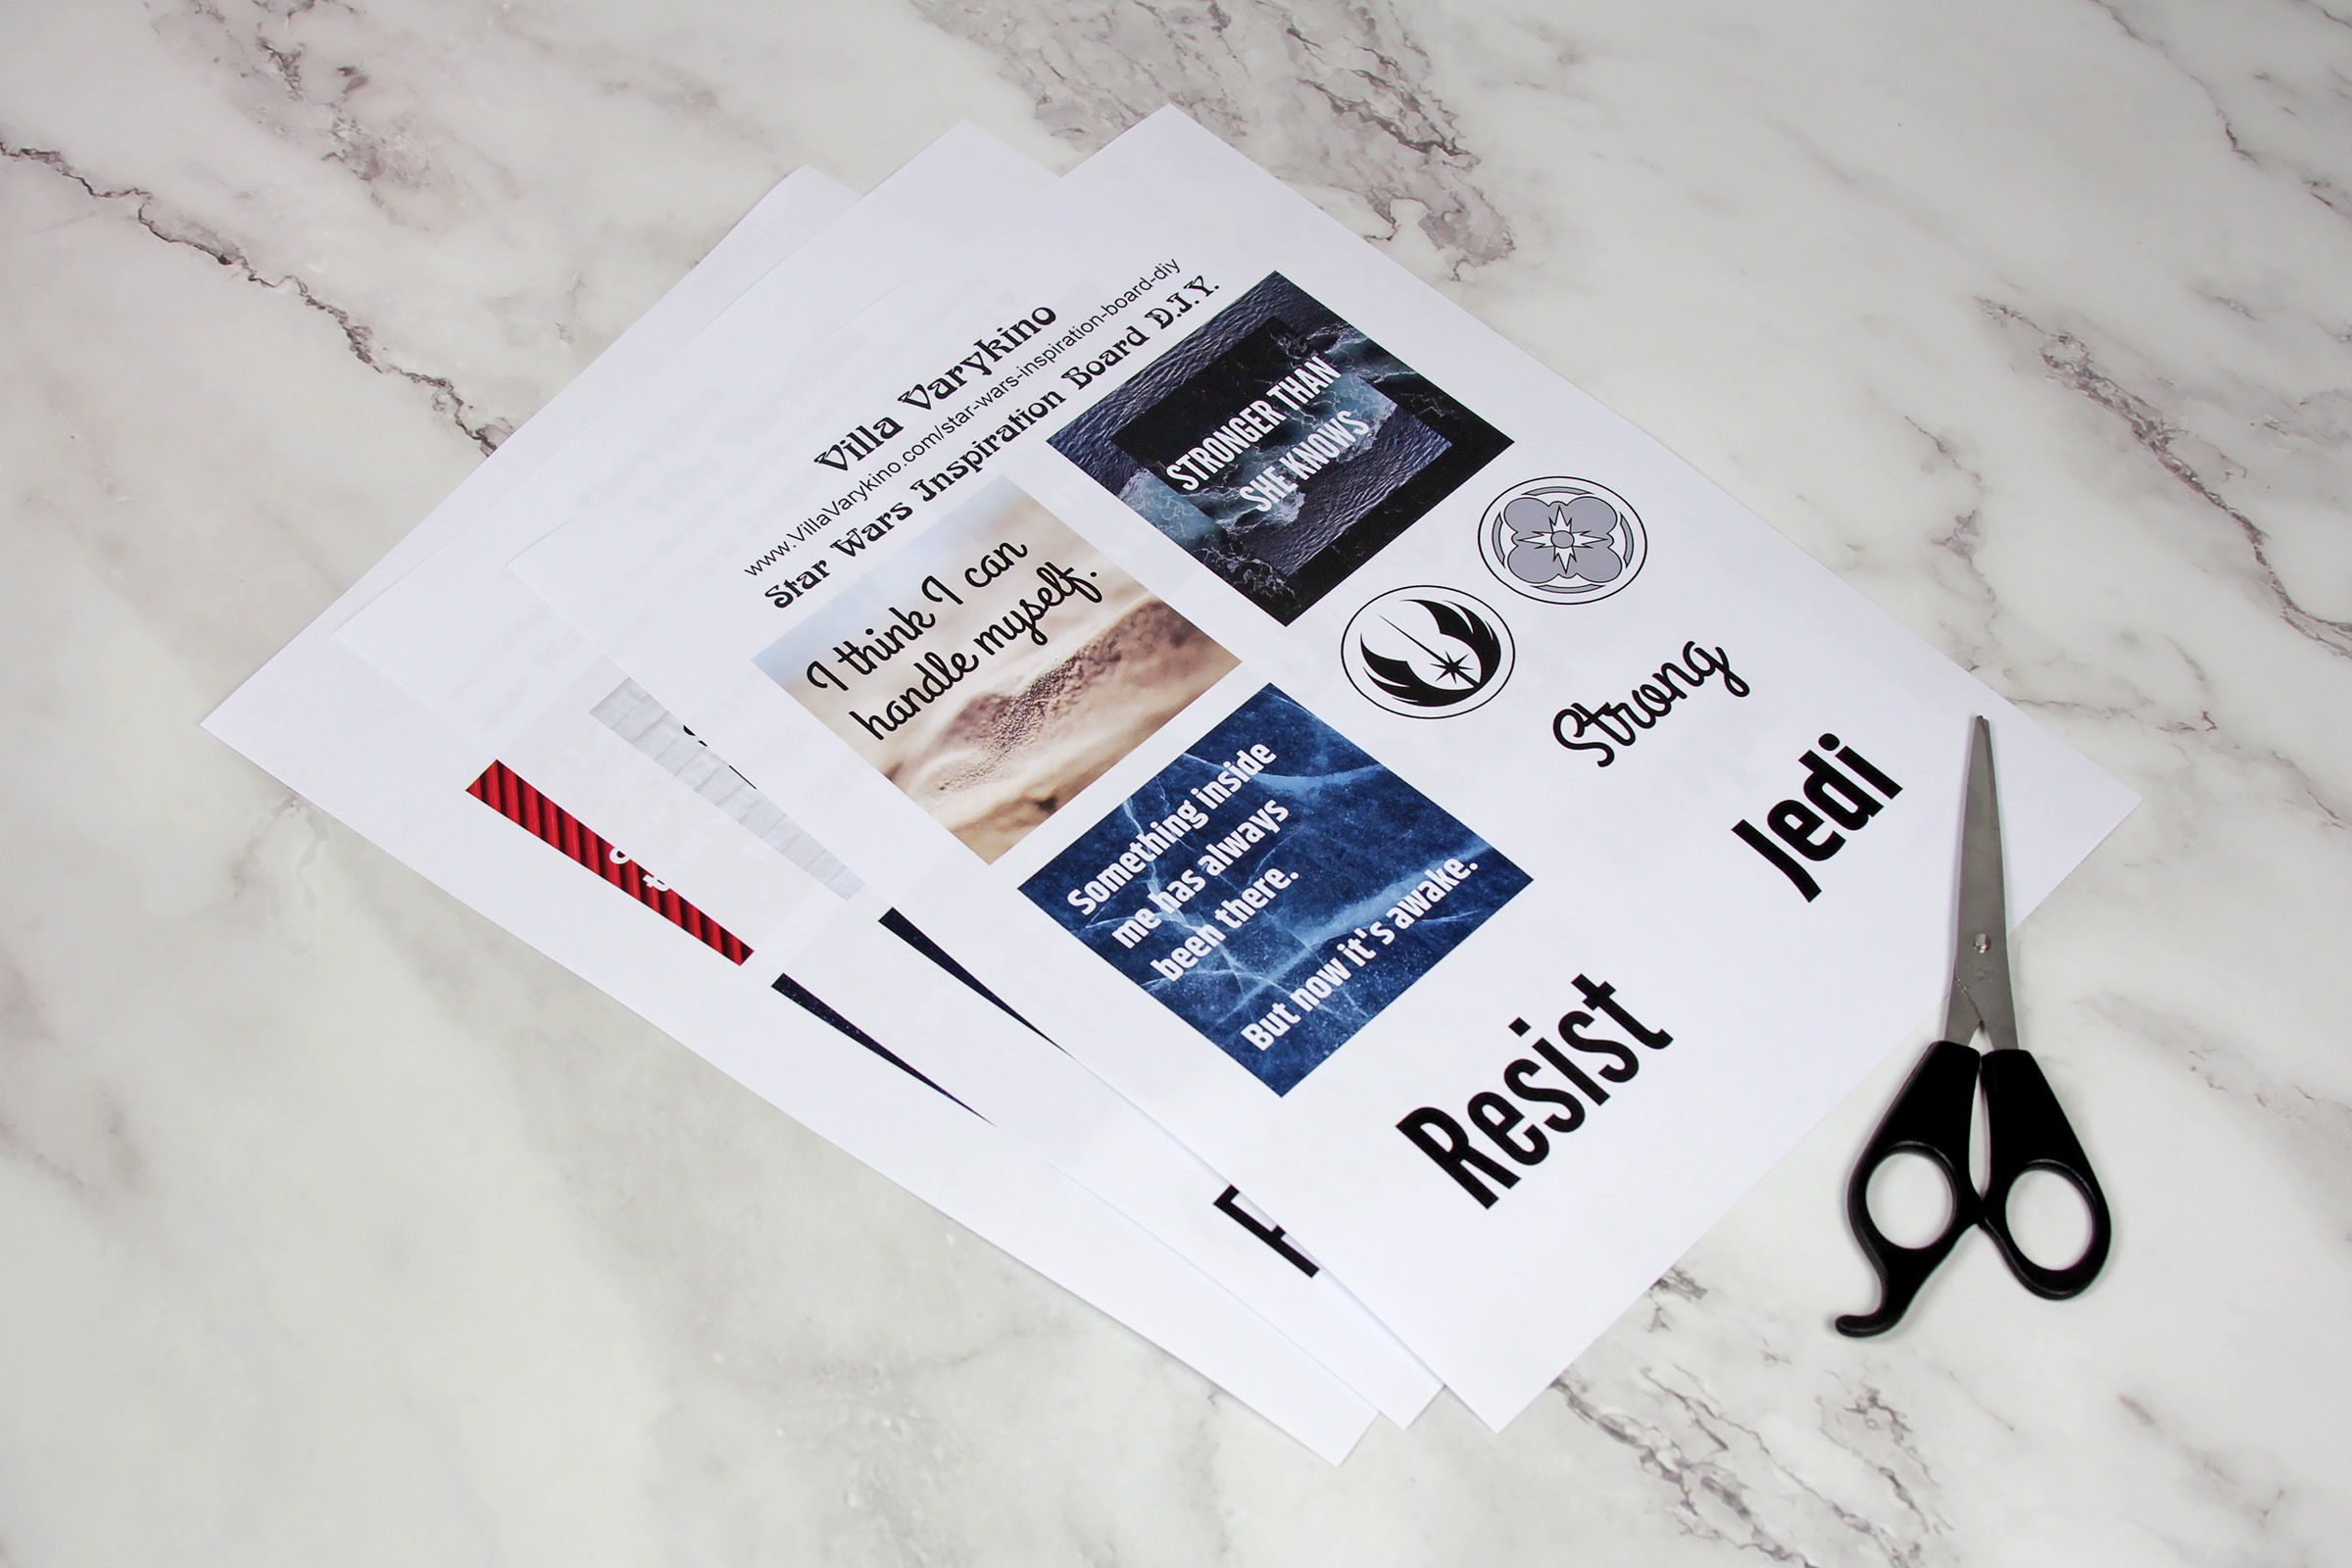
Taking my small scissors, I cut out each of the quote squares and round symbols, as well as a photo of each character I printed separately (I just found promo photos I liked online and printed them out in the same sized square as my quote designs).
For the single word prints, I originally cut them out in rectangles, but after seeing them all cut out together, I decided I wanted a ‘closer’ cut-out style for the words. It adds a scrapbook effect to the text, as if I cut them out from a magazine, which was my reason for using different fonts anyway.
The final step! Laying all the paper elements out on each board and playing around with different layout designs. I knew I wanted a square print in each corner, with the single words and round symbols scattered around. It was fun to see the final designs come together!
I wasn’t sure what colour pins I wanted to use, but in the end I went with white pins, with a few black pins for the quote squares with darker backgrounds. I felt black and white pins coordinated well with my printed text and silver painted elements. Once I had decided on my final layout, I secured the cut-outs in place with pins.
I am so very happy with how this DIY project came out – they look exactly as I hoped they would! Translating my scribbled sketches on scrap paper to final finished boards I can hang on my wall. From the first steps of choosing quotes, words, and symbols to represent each character, to creating printables, and painting symbols – it’s been a fun and thoughtful DIY project.
Every morning, I get up and see these Star Wars inspiration boards and smile. A reminder of the characters I love so much, and why they continue to inspire me every day. I really enjoyed the creative process of designing and making these inspiration boards, and celebrating these amazing women of Star Wars.
You can check out this DIY project on YouTube too (and subscribe to our channel for more Star Wars DIY projects as well as other ways to incorporate more Star Wars into your life).
If you’d like to create a Star Wars inspiration board for yourself, feel free to download and print out these character quote designs – these are also included in the free printable sheets which you can download via links at the top of this post.